Layouts
Section
Sections are the first level child elements of a page. It means when you create a page with LoftBuilder, then this page is consisted of several sections.
How to Add a Section
- On LoftBuilder editor screen, activate the content edit mode.
- Click Layouts button in the main toolbar.
- The sub toolbar of Layouts appears, move the cursor on to Section, hold to drag it onto your page.
- Drop it at where you wish to add a new section. A new blank section now appears on the page.
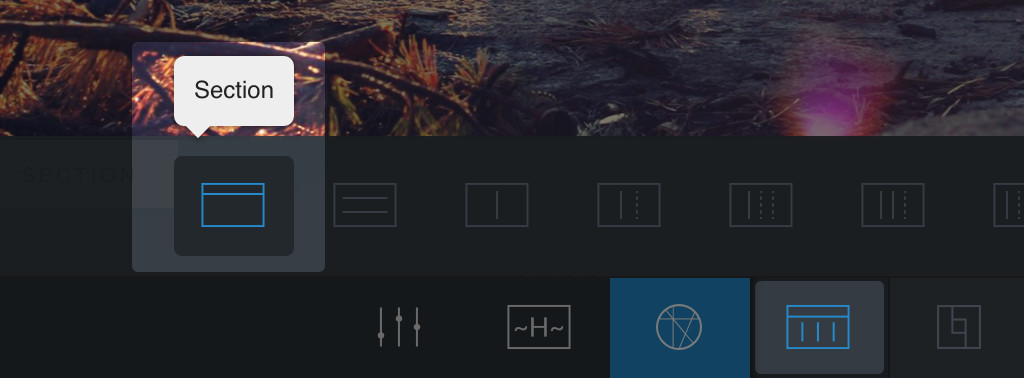
Select Section button in the toolbar and drag.
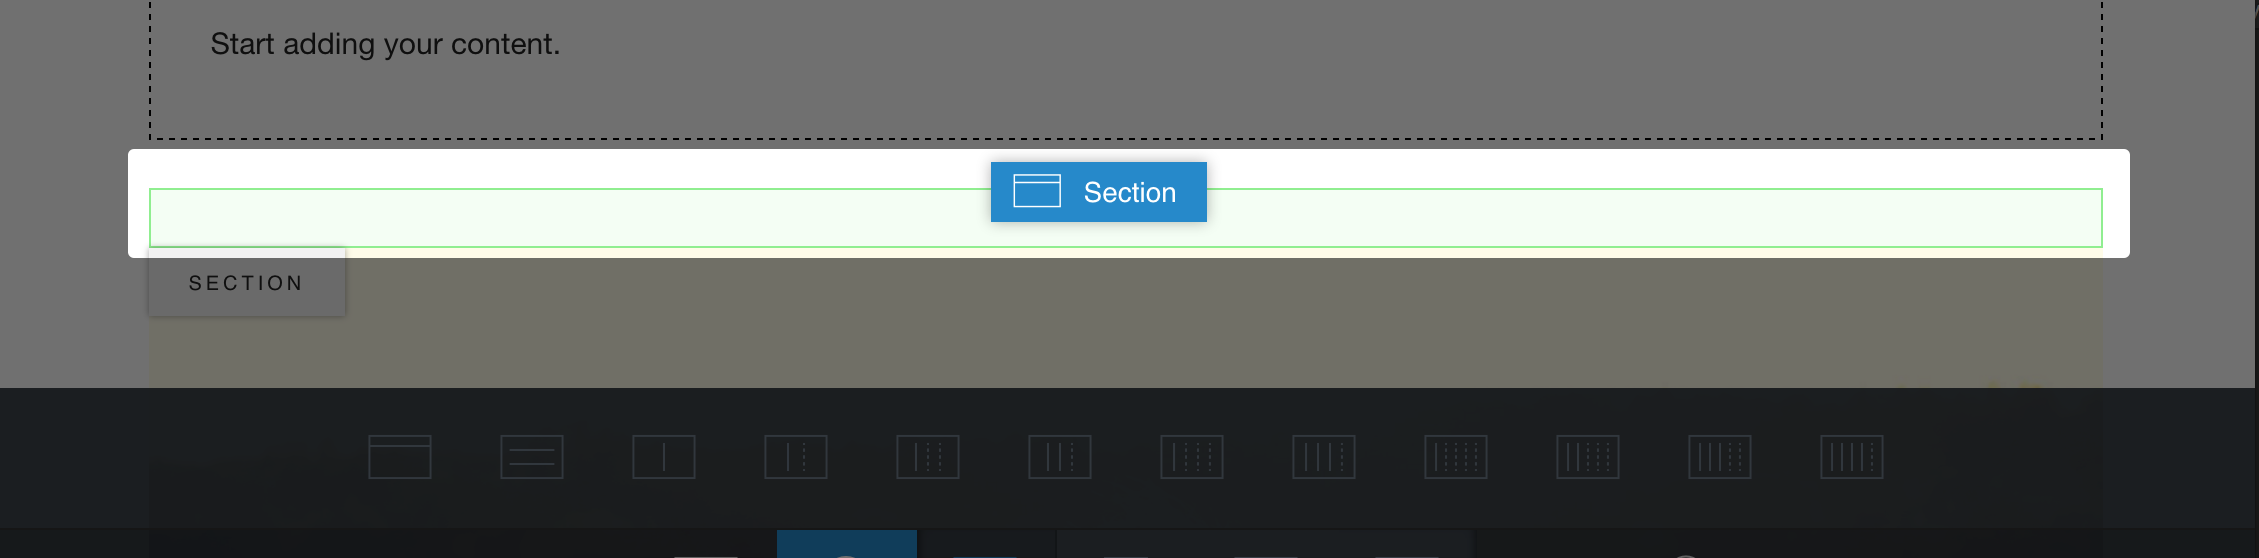
Drag and drop a section to the page. A green box appears when it’s droppable.
When a new blank section has been added to a page, it already contains a row and an empty column. Then you can:
- Add any module into the column.
- Add more columns into the row.
- Add more rows into the section.
- Change the row’s settings.
- Change the column’s width or other settings.
- Style the section, like adding a background, set height, etc.
- Clone, move or delete any row/column/module.
- Clone, move or delete the whole section.
You can add multiple rows into a section, multiple columns into a row, and multiple modules into a column.
How to Edit a Section
- Open LoftBuilder editor screen, activate the content edit mode.
- Hover your cursor on a section’s toolbar area, the section toolbar will appear.
Section Toolbar
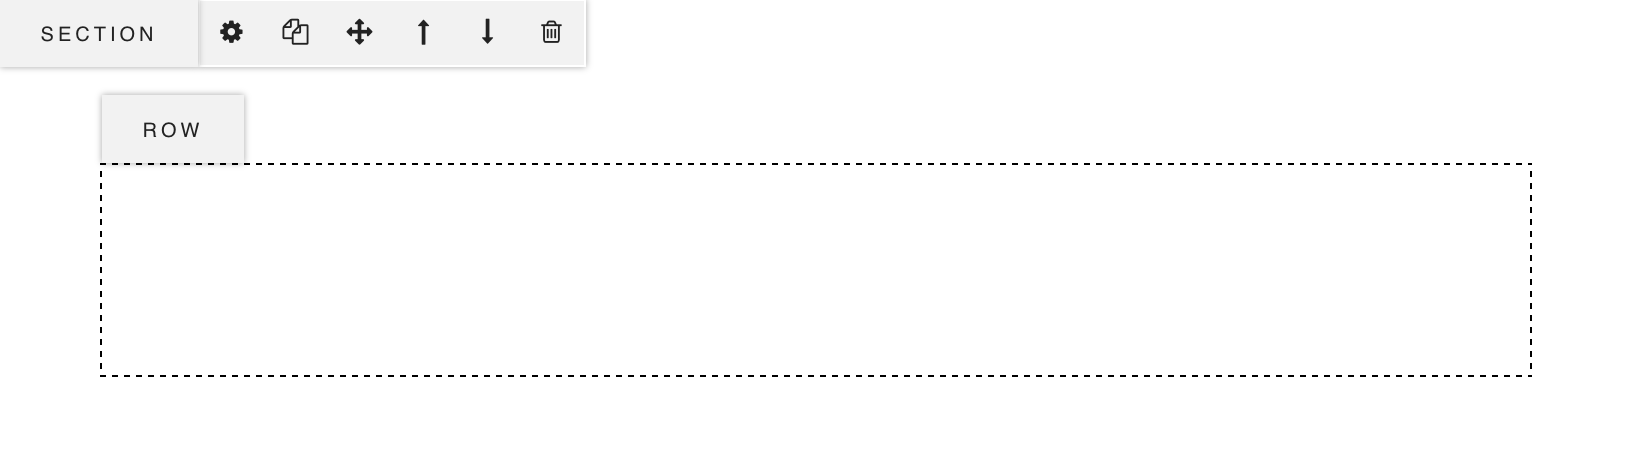
- Section Settings – Click it to open Section Settings panel where you can style the section.
- Clone – Click it to add a copy of the section after the original one.
- Move – Hold and drag to move the section to other places, let go to drop it at the target place.
- Move Up – Click to move the section up by one section.
- Move Down – Click to move the section down by one section.
- Delete – Click to delete the section.
How to Style a Section
Click (Section Settings) button in the section toolbar to open the settings panel. Here are 3 tabs: Basic, Background & Animation.
Basic settings include:
- Color Scheme – Allows you to select color scheme for this section. It inherits the color scheme selected for the page by default.
- Content Vertical Alignment – It decides the vertical position of the rows inside the section.
- Section Height – There are 3 options:
- Auto – The height is decided by how much content inside of the section.
- Screen Height – It makes the section at least 100% height of browser window.
- Custom Height – Allows you to enter a custom height value.
- Content Area – It decides if the content takes 100% width and height.
- Content Paddings – You can enter custom top and bottom padding for the section (depending on Content Area).
- Top Border – Allows you to add a top border and style it.
- Bottom Border – Allows you to add a bottom border and style it.
Background settings include:
- Transparent Background – Enable to set the section’s background to transparent. Disable it then you can style the section’s background.
- Background Color – Allows you to pick a background color for the section with a color picker.
- Background Color Opacity – Allows you to change the background color’s opacity.
- Background Type –
- Static Background Color – Normal one background color.
- Background Image – Allows you to add a background image by uploading a new image or selecting one from Media Library.
- Parallax Bg Image – Scroll – Read Parallax Effects chapter.
- Color Overlay – You can add a color overlay on top of the background with any color picked in a color picker, and tweak its opacity.
Animation settings include:
Scroll Down Button – Allows you to add a Scroll Down Button to the section. It sits at the bottom of the section. When clicking the button, it scrolls down to the following section. Usually it is used as a “scroll down for more content” indicator for a fullscreen section. You can control its styles:
- Enable Animation – It adds a slight floating animation to the button.
- Select Button – You can choose a down arrow icon from the list.
- Button Size – There are 3 sizes to choose: small, medium & large.
- Label (optional) – You can enter a label, for instance, “Scroll down for more”. The label will show above the arrow icon.
Rows
Rows are the containers go inside of a section. You can add/edit/clone/move/delete a row.
How to Add a Row
- Open LoftBuilder editor screen, activate content edit mode.
- Click on Layouts button in the main toolbar.
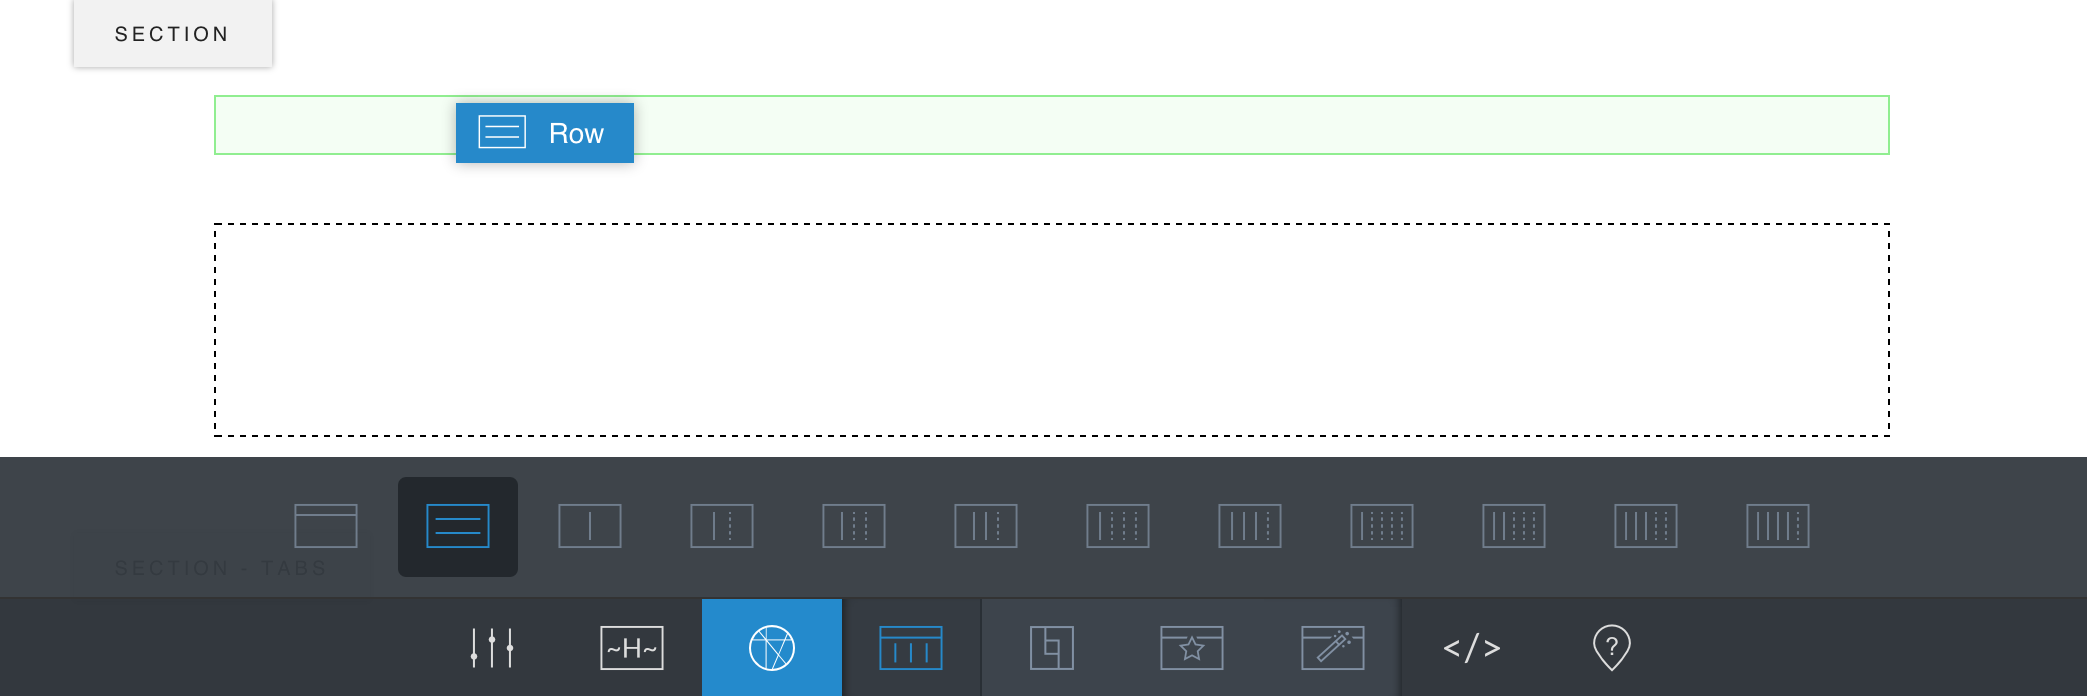
- The sub toolbar of Layouts appears, move the cursor on to Row, hold to drag it into a section.
- Drop it at the target place. Now you have a new row which contains an empty column.
How to Edit a Row
When the page’s content edit mode is on, move your cursor on to a row, the row’s toolbar will show.
Row Toolbar
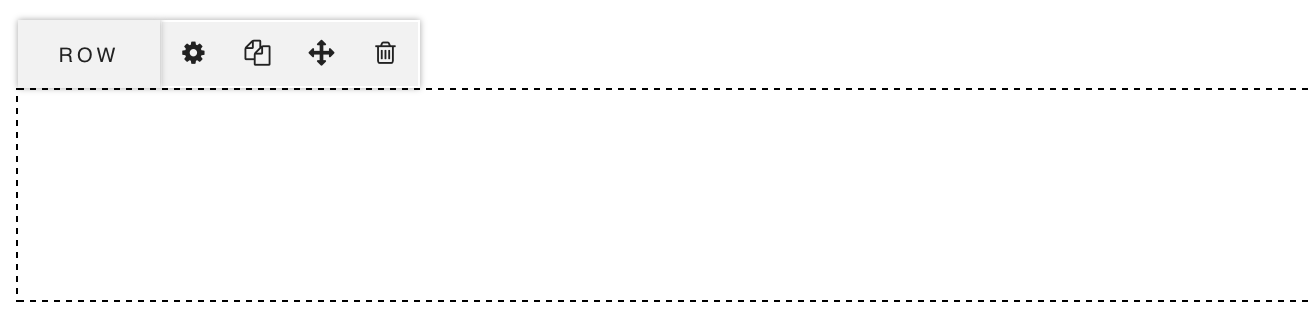
- Row Settings – Click it to open the Row Settings panel.
- Clone – Click it to add a copy of the row after the original.
- Move – Click on it and hold to drag, then drop it at where you wish to put.
- Delete – Click to delete the row.
Row Settings Panel
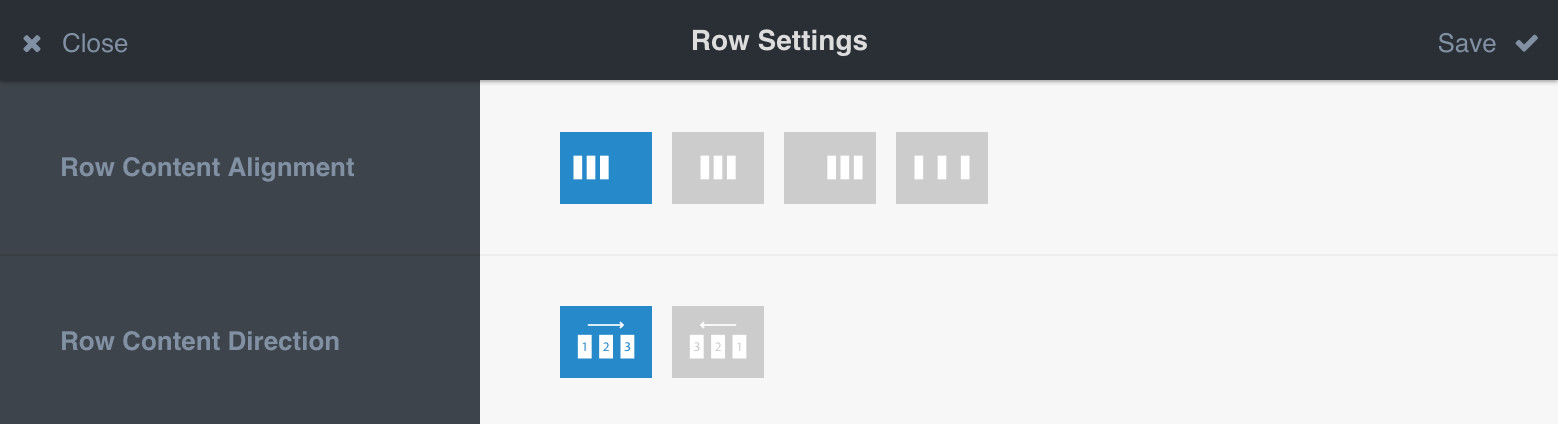
- Row Content Alignment – Controls the horizontal alignment of columns inside.
- Row Content Direction – Controls the direction/order of columns inside.
Columns
Columns are the containers for holding Modules.
How to Add a Column
- Open LoftBuilder editor screen, activate content edit mode.
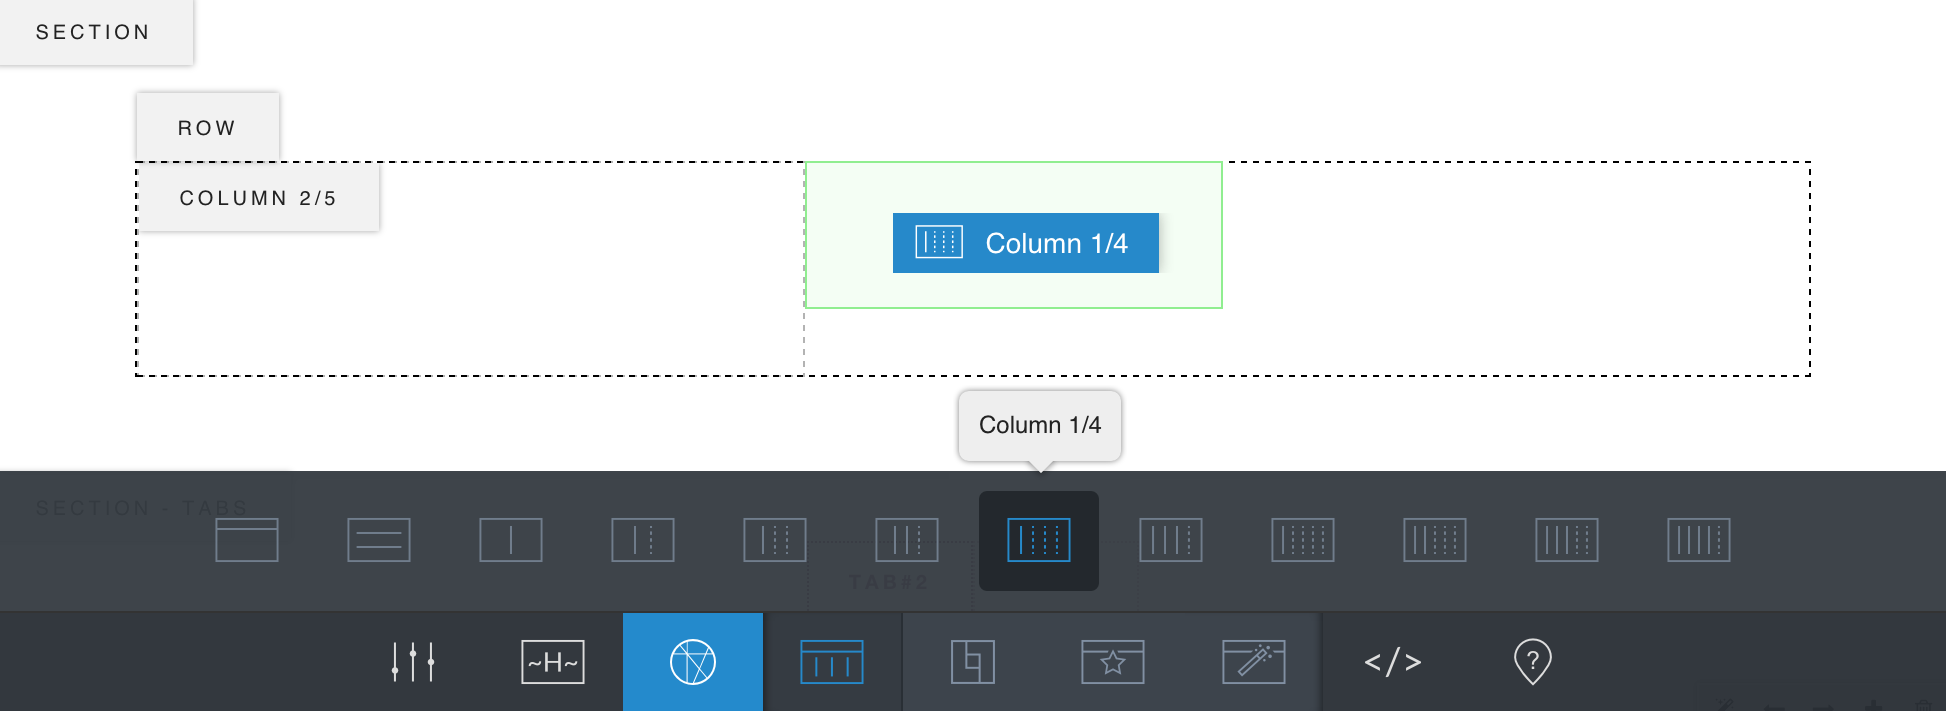
- Click Layouts button in the main toolbar.
- You can find columns with different width show in the sub toolbar of Layouts. Select a column, hold to drag it onto your page and drop it at the target place.
- A new empty column now appears on the page.
How to Edit a Column
When the page’s content edit mode is on, move your cursor on to a column, the column’s toolbar will show.
Column Toolbar
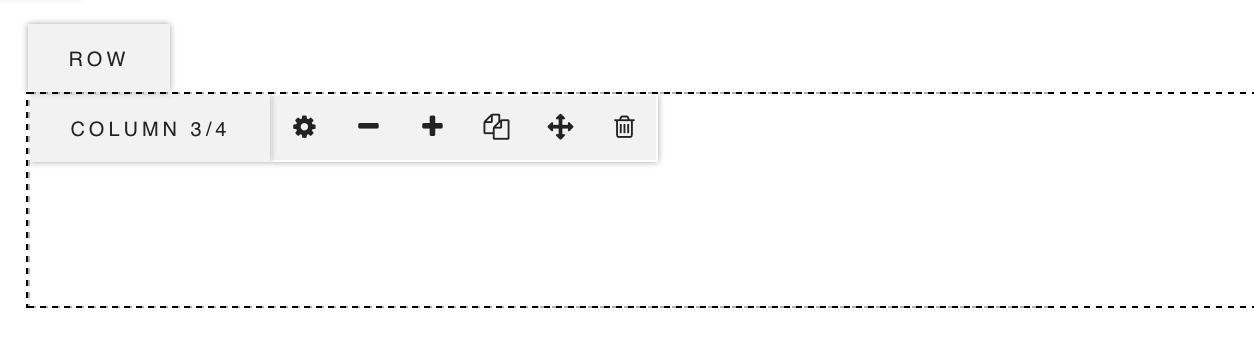
- Column Settings – Click it to open Column Settings panel where you can style the column.
- Decrease Width – Click it to decrease the column width.
- Increase Width – Click it to increase the column width.
- Clone – Click it to add a copy of the column after the original.
- Move – Hold and drag to move the column to other places, let go to drop it at the target place.
- Delete – Click to delete the column.
How to Style a Column
Click Column Settings button in the column toolbar to open the settings panel. Here are 2 tabs:
Basic & Background.
Basic settings include:
- Color Scheme – Allows you to select color scheme for this column. It inherits the color scheme selected for the parent section by default.
- Content Horizontal Alignment – It decides the horizontal position of the content inside the column.
- Content Vertical Alignment – It decides the vertical position of the content inside the column.
- Column Height – There are 3 options:
- Auto – The height is decided by how much content inside of the column.
- Screen Height – It makes the column at least 100% height of browser window.
- Custom Height – Allows you to enter a custom height value.
- Content Area – It decides if the content takes 100% width and height of the column, or leave paddings around.
- Content Paddings – You can enter custom padding values for the column (depending on Content Area option).
Background settings include:
- Transparent Background – Enable to set the column’s background to transparent. Disable it then you can style the column’s background.
- Background Color – Allows you to pick a background color for the column with a color picker.
- Background Opacity – You can change the background color’s opacity.
- Background Image – Allows you to add a background image by uploading a new image or selecting one from Media Library.
- Color Overlay – You can add a color overlay on top of the background with any color picked in a color picker, and tweak its opacity.