Basic Knowledge
Page Elements
When you work with LoftBuilder, your site pages will be consist of the following basic elements:
- Layouts – They are containers to hold content blocks, including Sections, Rows & Columns.
- Modules – Content blocks, including various different features, like Text, Button, Media…
Here is the hierarchy of your page:
Page > Section > Row > Column > Module.
Switch Published Content
You can choose which content to publish for each page: the content created in LoftBuilder editor, or the content written in WordPress default editor. So you can publish some essential/summary content while working on more details of a page.
New or edit a page, find LoftBuilder Switch on the top of the page.
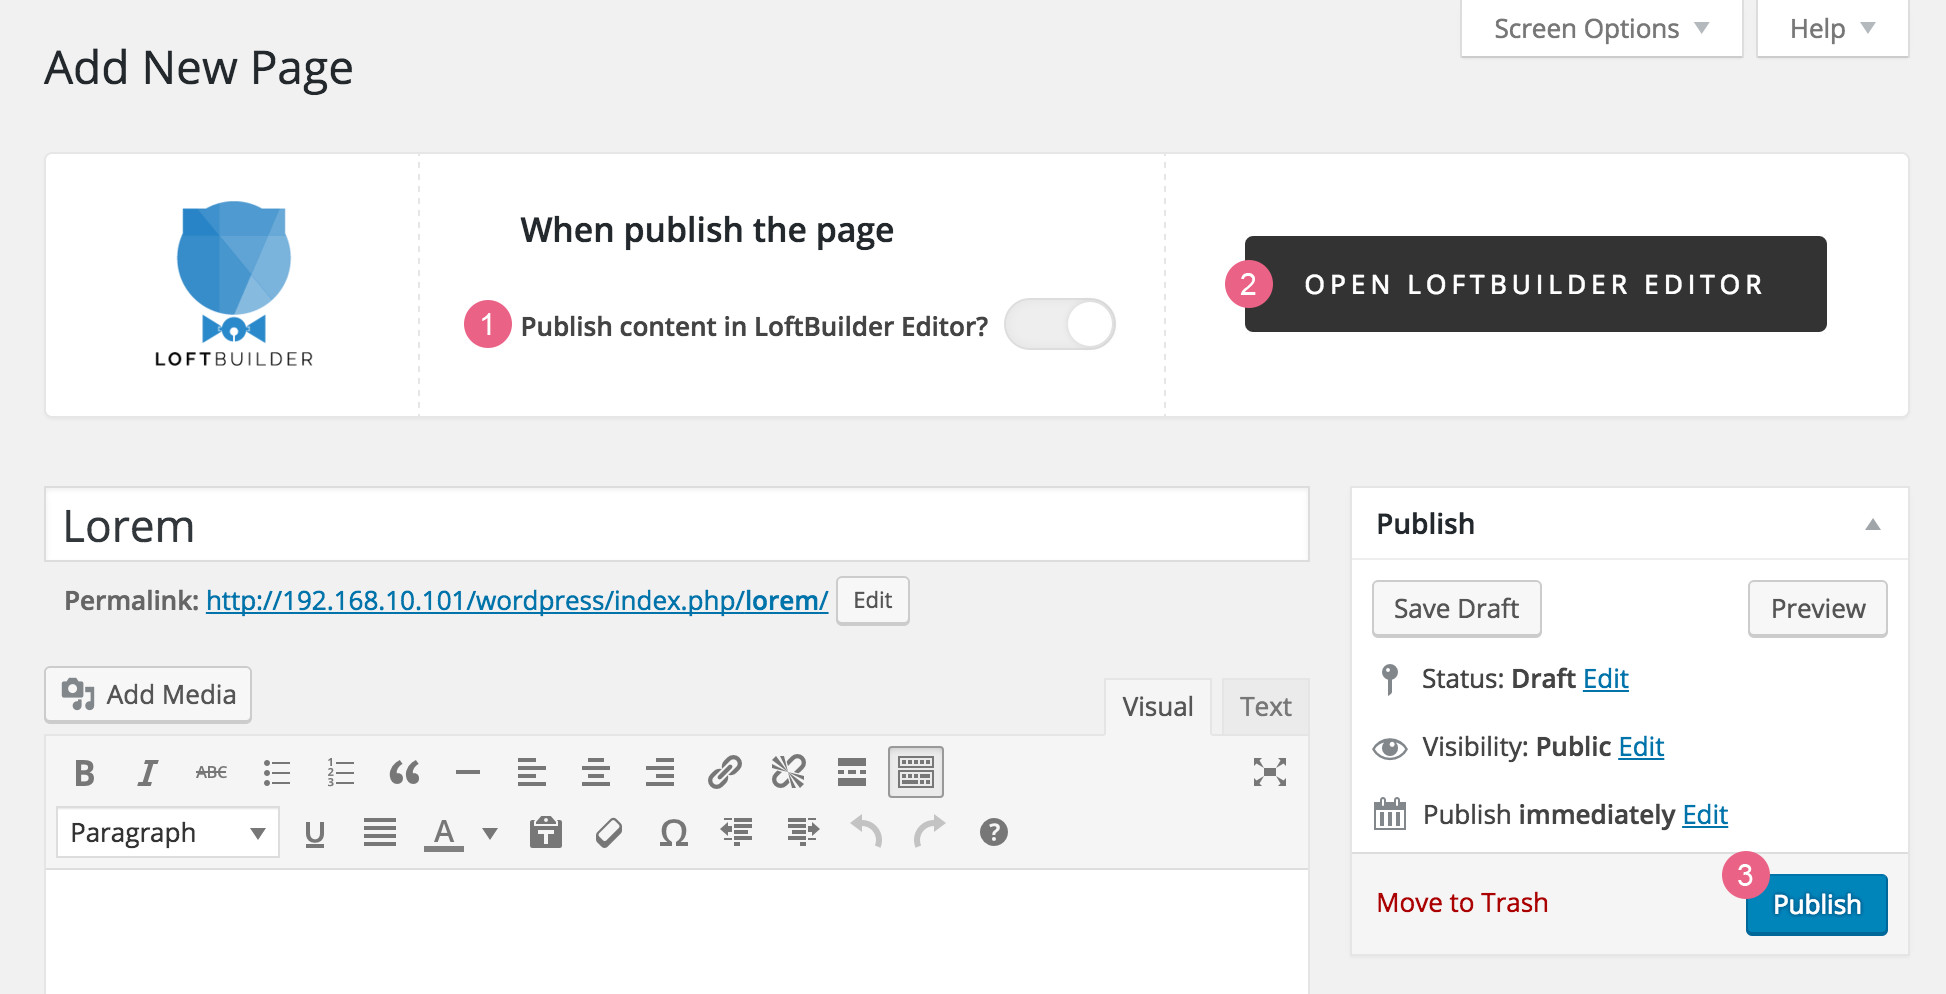
- Publish content in LoftBuilder – Turn it on, so when publish the page, you publish the content created in LoftBuilder editor. Or publish the content written in WordPress default editor. It is switched off by default.
- Open LoftBuilder Editor – Click the button to open LoftBuilder editor screen.
- Publish/Update button – Click it to publish/update the page.
When LoftBuilder Editor opens, you will find LoftBuilder Main Toolbar at the screen bottom.
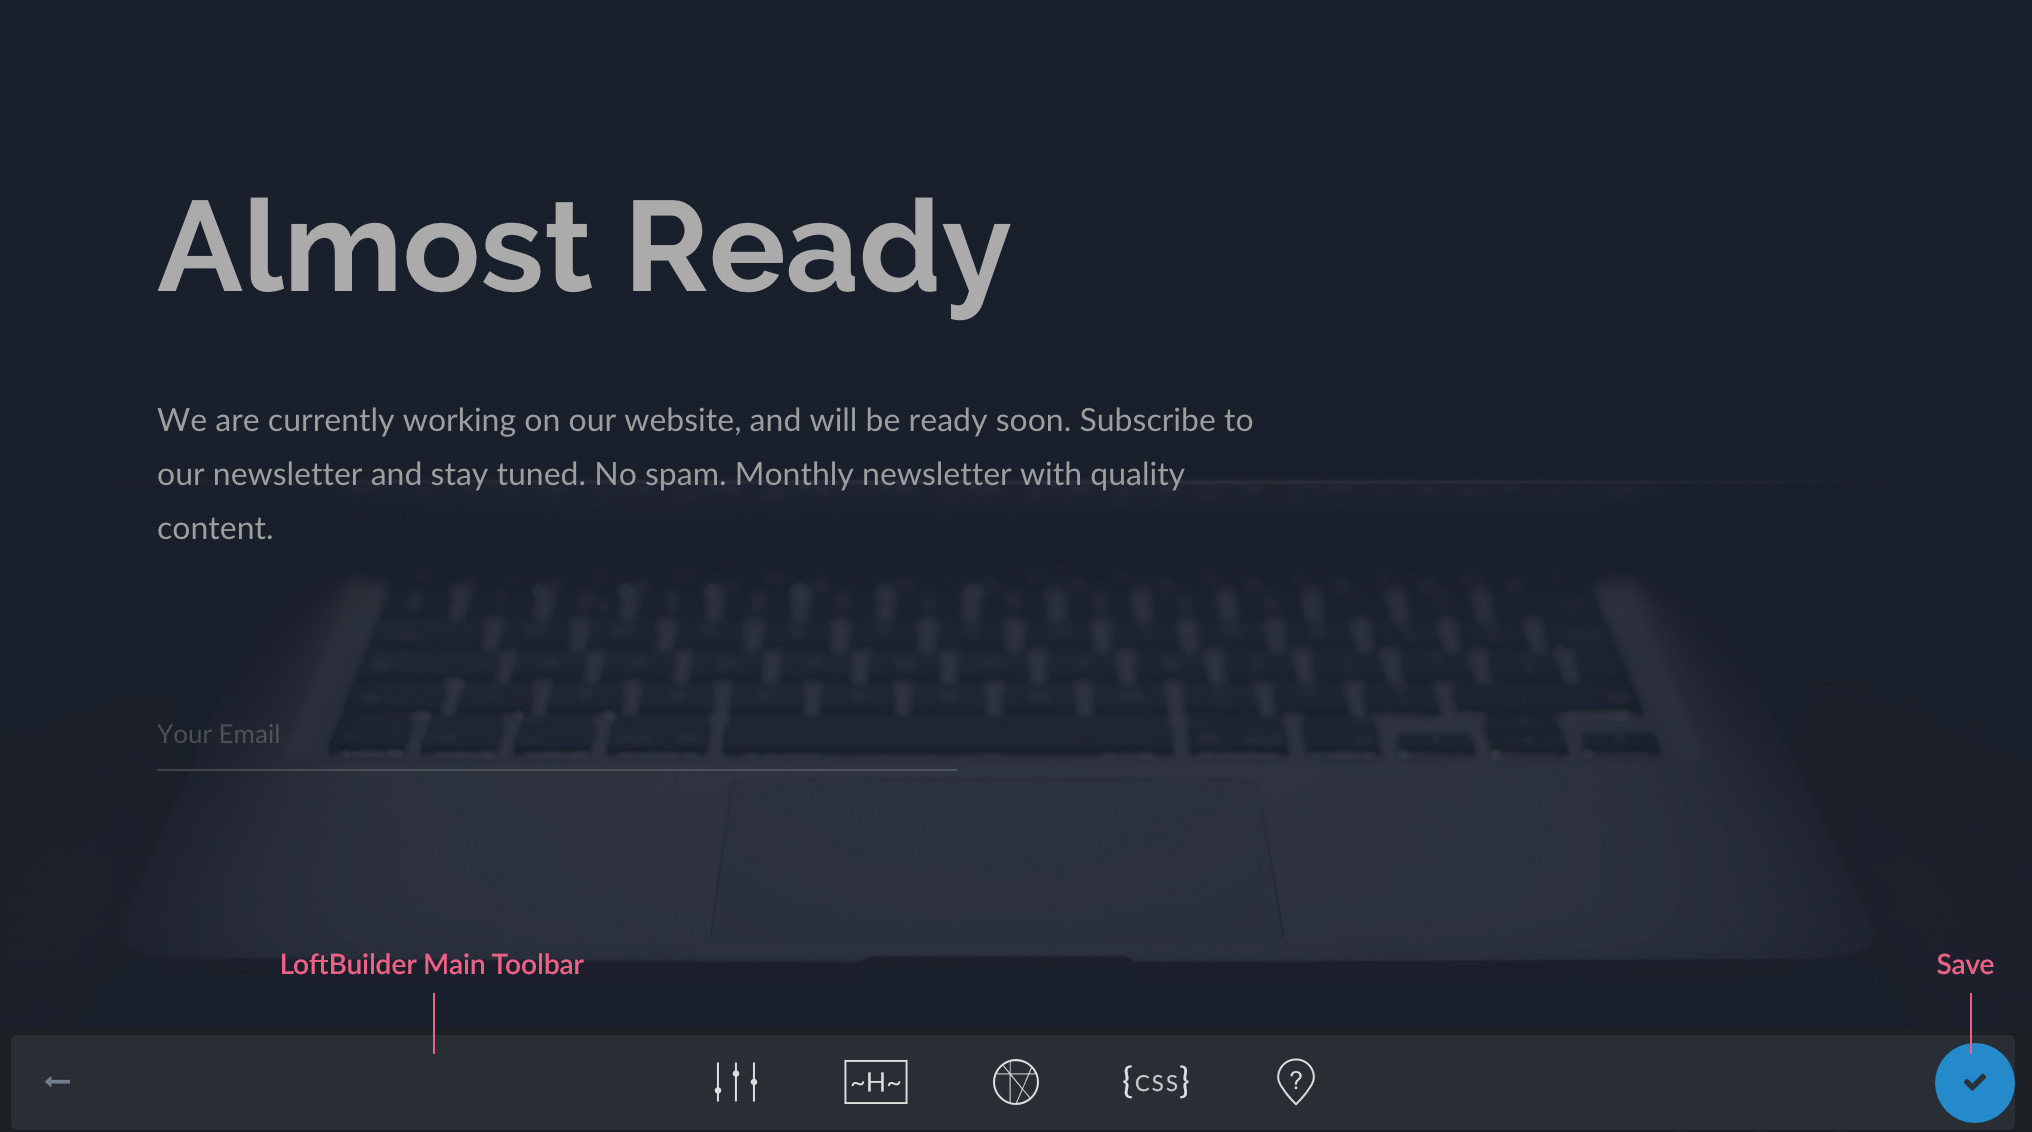
Don’t forget to click on Save button before exiting the screen.
You can also edit content in LoftBuilder editor first, then turn on “Publish content in LoftBuilder Editor” when everything is ready to go public.
LoftBuilder Main Toolbar
Let’s go quick through each item of the main toolbar.

- Back button – Click to exit LoftBuilder editor screen, back to Wordpress editor.
- Page Settings – Click to open a panel to control overall settings of the page.
- Page Header – Click to open a panel to set up Page Header, including advanced settings for Fancy Header.
- Content Edit Mode Switch – Click the switch button to activate content edit mode of the page, and show content tools (read the following section for details).
- Custom CSS – Click to open a panel to add custom CSS code which only works for this page.
- Help + Guides – Click and go to our online LoftBuilder Guide.
- Save button – Click to save changes made to the page. Don’t forget to save the page before exit.
Content Edit Tools
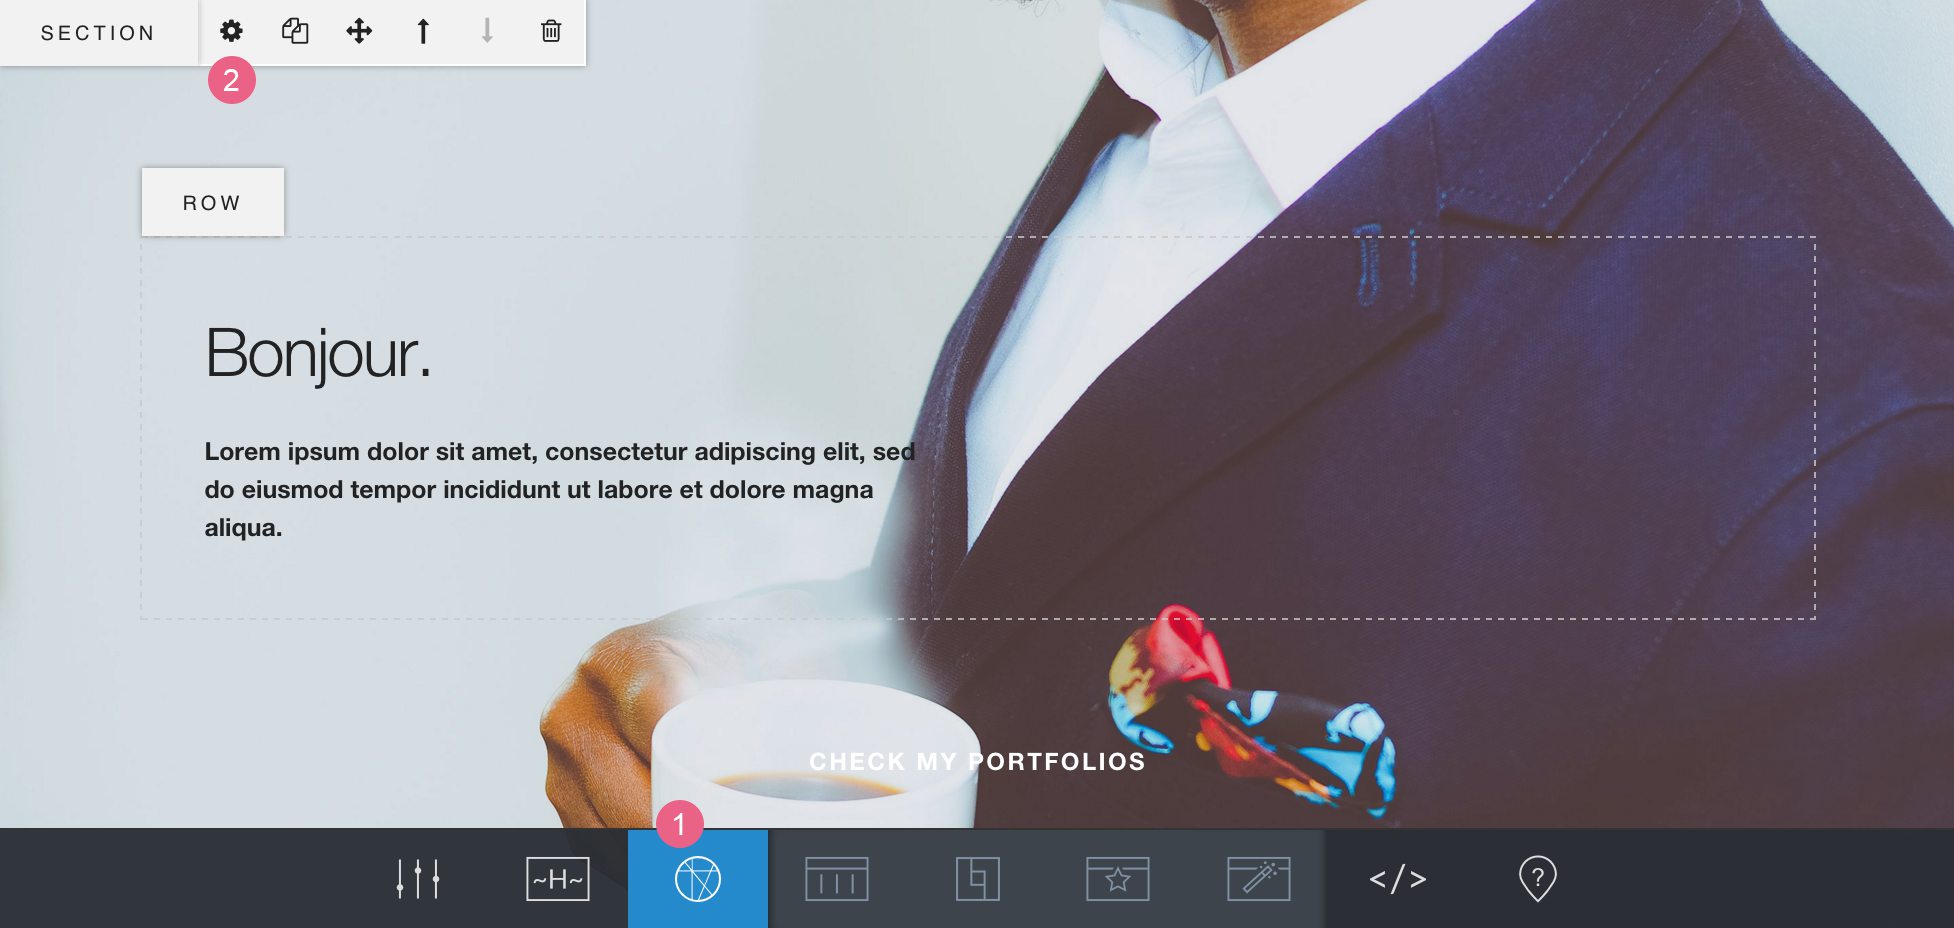
Click on each Content Edit Tool icon to expand its sub toolbar.

- Layouts – Contains all layout (container) elements: section, row, 1/2 column, 1/3 column…
- Modules – All feature elements: Text, Separator, Accordion, Map… Modules can only be placed in columns.
- Special Sections – They are complex feature elements that are packaged as sections.
- Predefined Sections – There are 12 predefined sections ready to use. They are combinations of features and layouts.
Layout/Module/Special Section elements in the sub toolbar are drag-and-drop widgets. Select one and hold mouse to drag, then release it at the target place.
Predefined Sections are click-to-add elements. Click to select one or multiple ones and add it (them) to the end of the page.
Hover the mouse cursor on any element to show its toolbar, and then you can edit/clone/move/delete it.
Parallax Effects
Parallax is a special effect where background content moves slower than foreground content, creating an illusion of depth on the page and adding to the immersion.
With LoftBuilder, you can create Parallax Scrolling effect without writing any code. Parallax Scrolling is creating the parallax effect while a visitor scrolling up or down the page.
- You have to upload images to produce parallax effects.
- Parallax effects only work for desktop devices.
Parallax Scrolling for Page Header
Parallax scrolling for Fancy Page Header
- On LoftBuilder editor screen, click on Page Header button in the main toolbar, and enable the Fancy Header.
- Upload a background image, and set its styles.
- Find Enable Parallax Scroll option, click to activate it.
- Save the settings.
Parallax Scrolling for Section
Parallax scrolling for Section
- On LoftBuilder editor screen, click Content Edit Mode switch button to activate content edit mode.
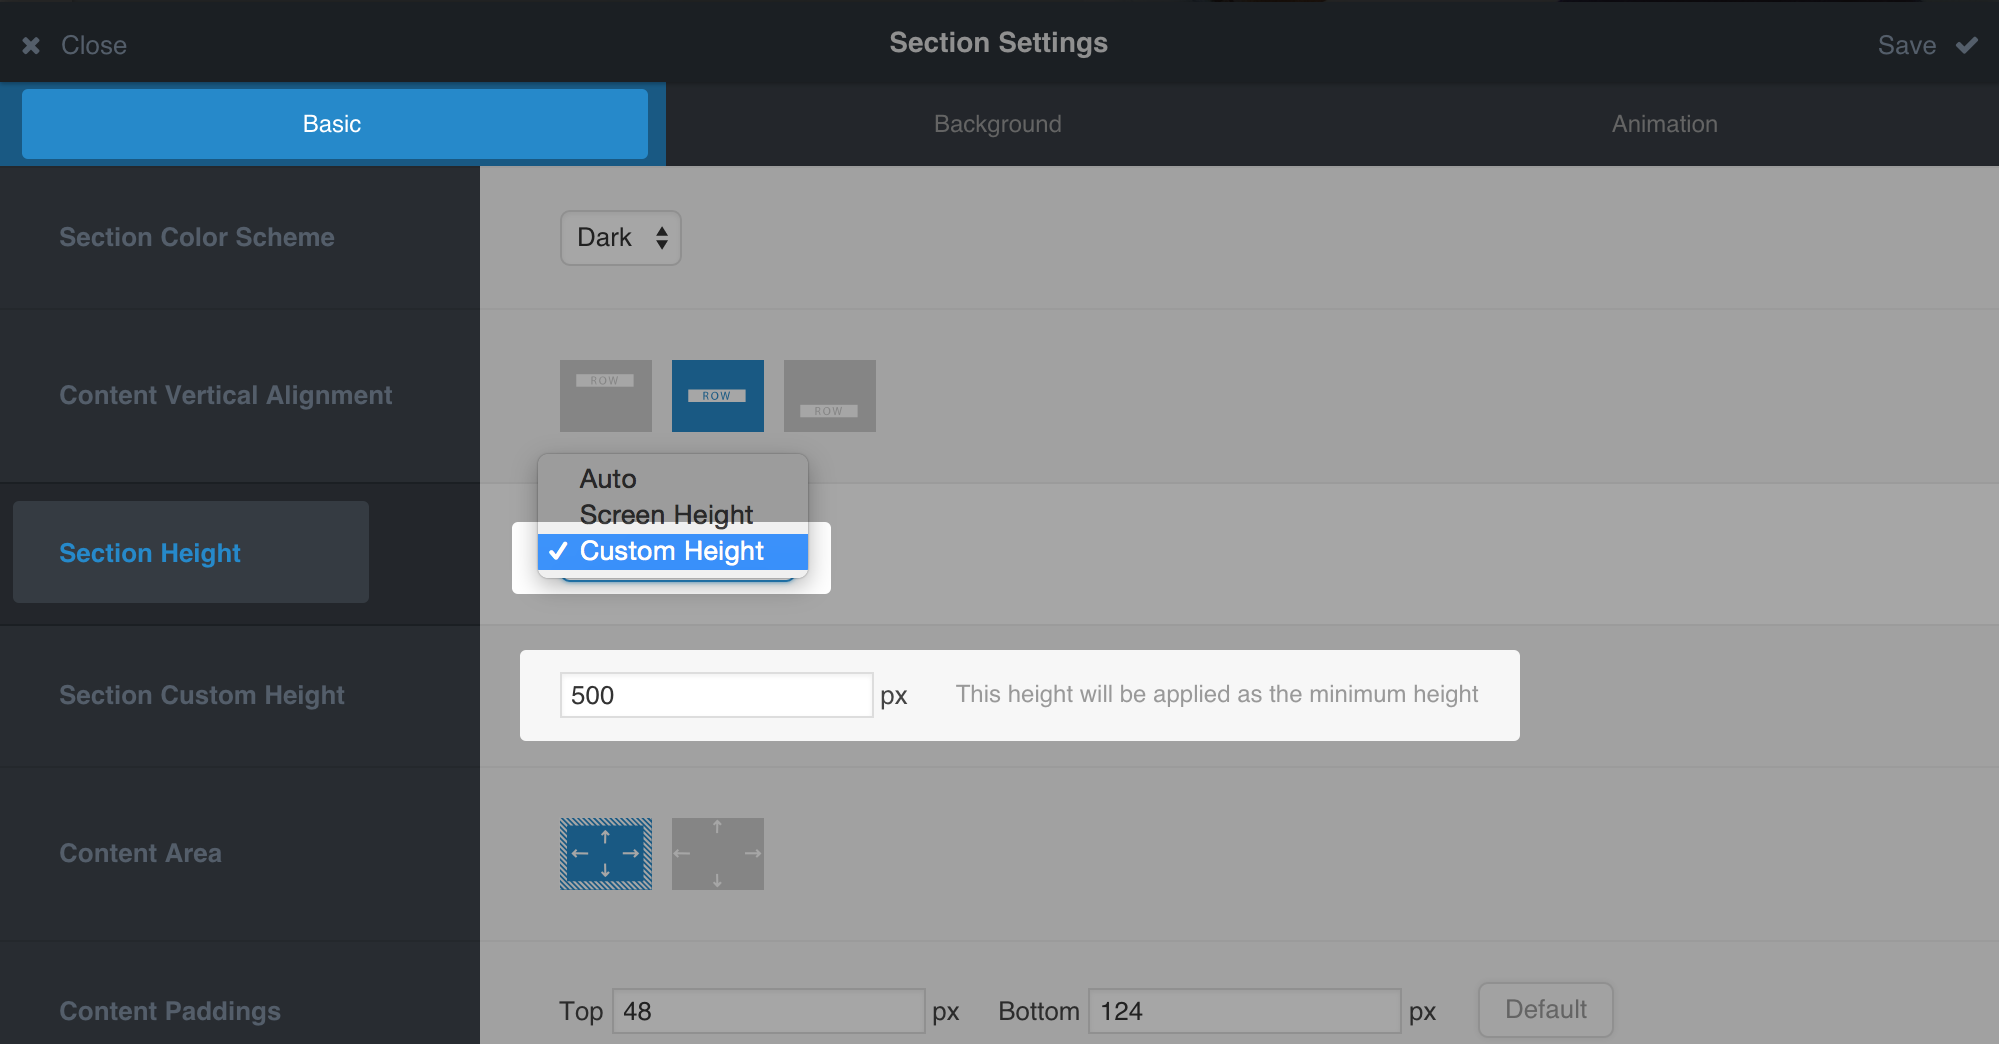
- Hover on a section to show its toolbar, click (Settings) button to open the Section Settings panel.
- Click Background tab, find Section Background Type option, select Parallax Bg Image – Scroll.
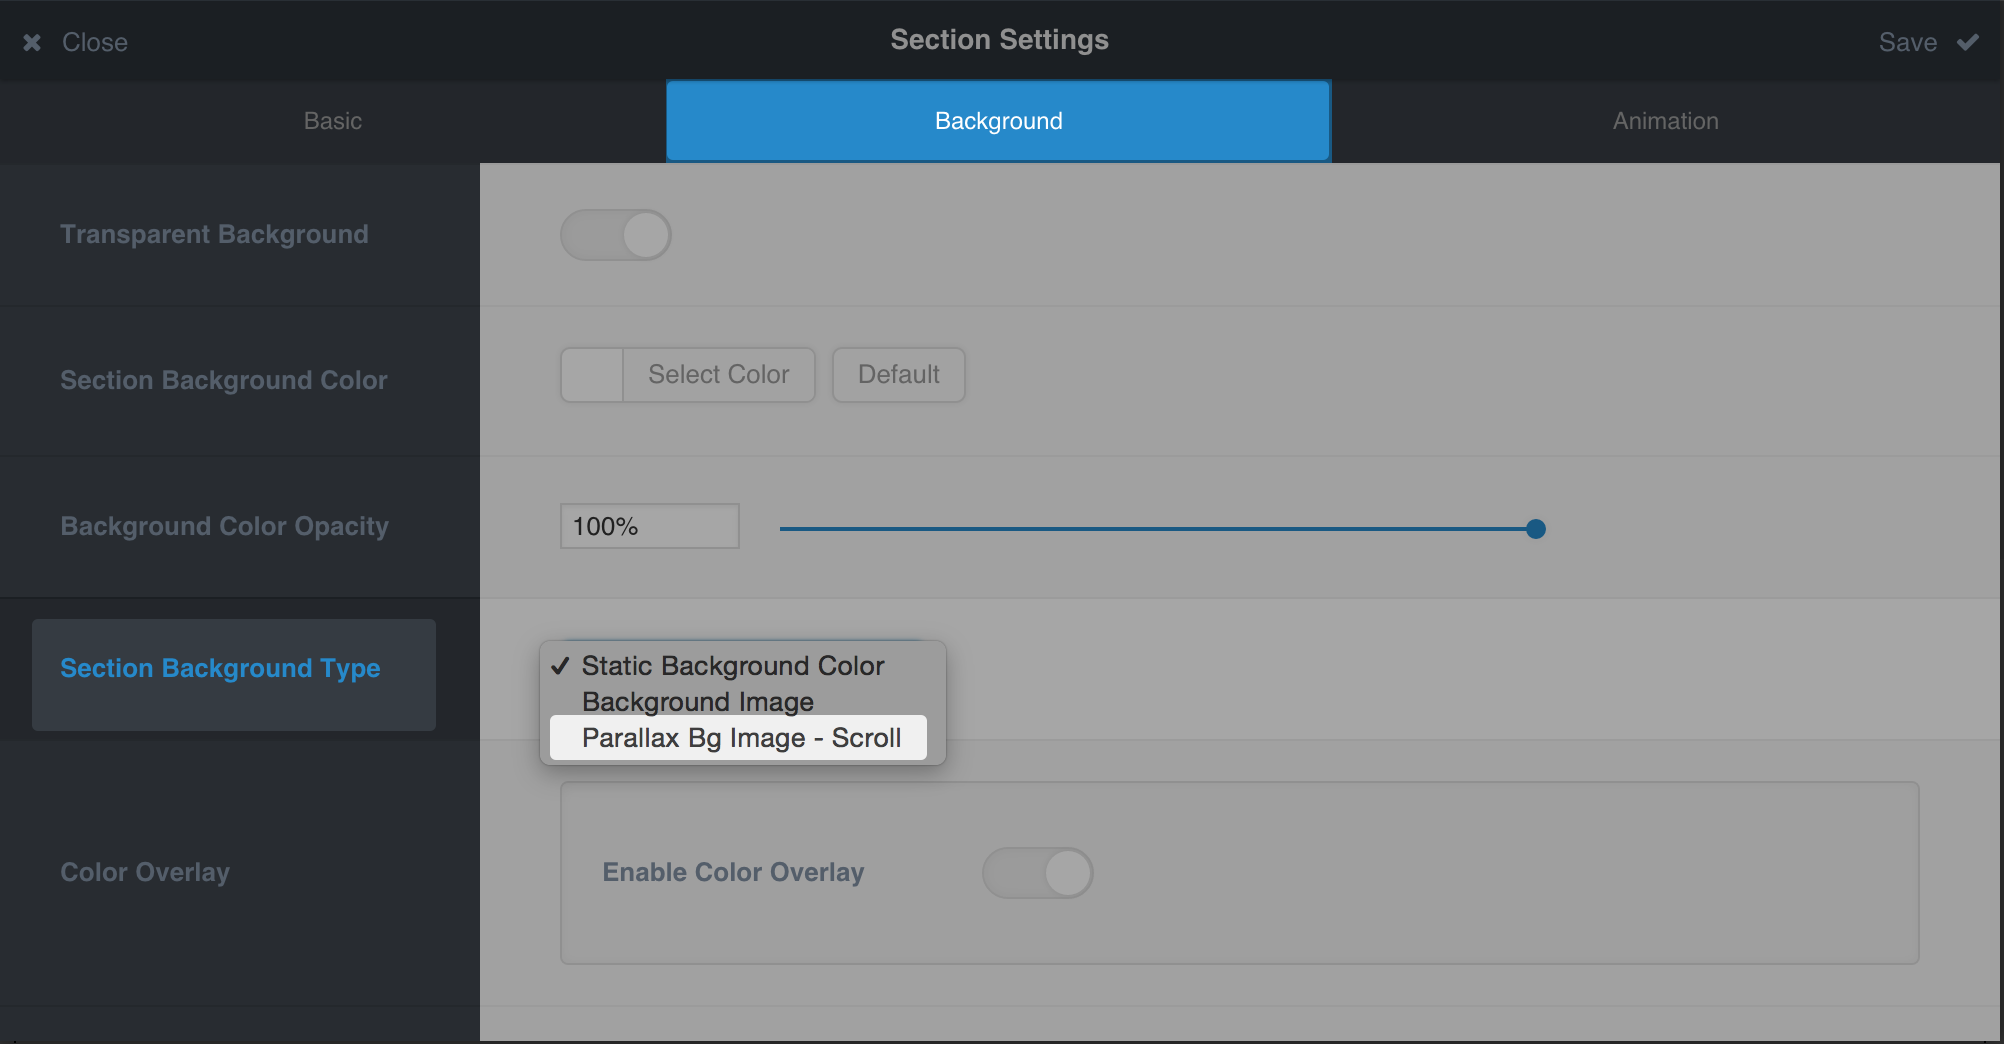
- Upload Background Image and set its styles such as background position, background repeat, etc.
- If the section has content (text/icons/buttons/other) in it, now you can click Save button and close the panel.
- If the section does not have any content inside, then you need to set its height, otherwise the section is not visible because its height is 0. Click Basic tab, find Section Height option, choose Screen Height or Custom Height and enter a custom height value. Then save the settings and close the panel.
- Save your page and publish it.