- Assuming you already have a valid Adobe subscription, now you can start by browsing the library of Adobe Fonts. When you find a font you like, click the
</>button to add the family to a web project.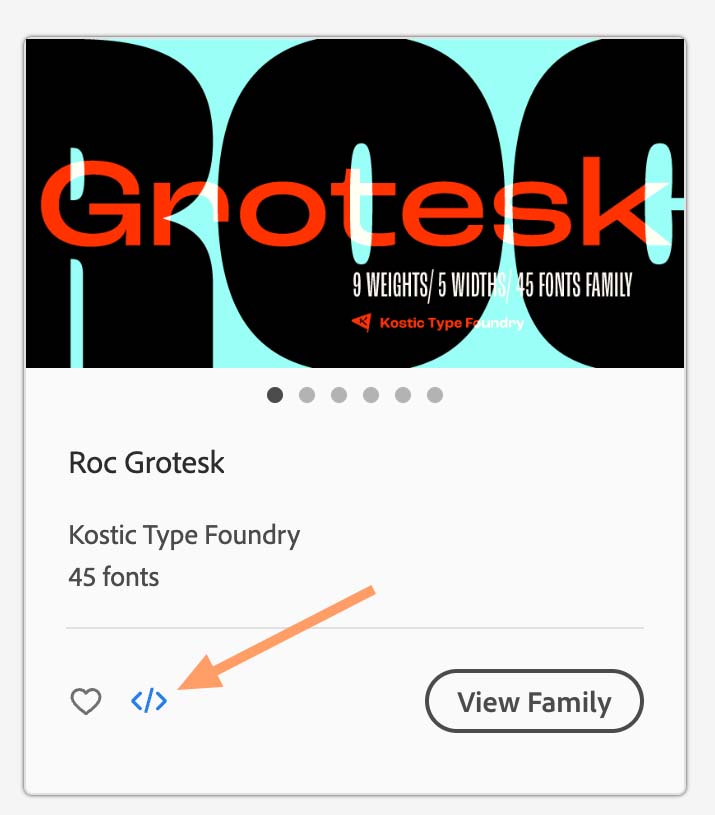 You can also click on the font name to open the family page and see all of the font weights and styles that are available to use. Then click
 </>Add to Web Project at the top of the page to add the family to a web project.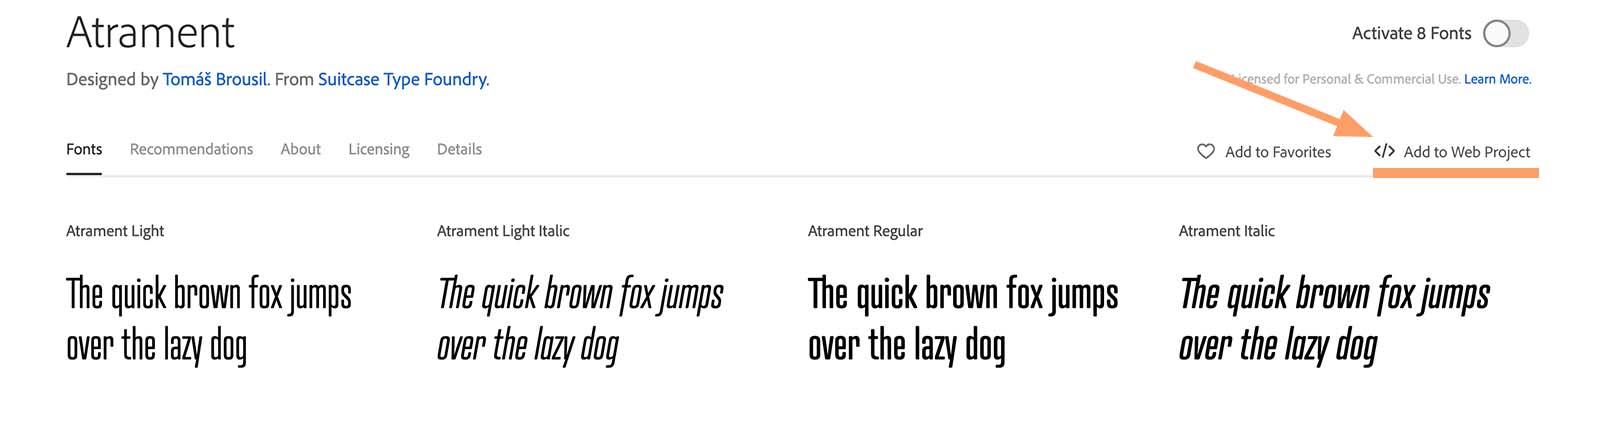
- In the Add fonts to a Web Project window, you’ll name your web project and decide which fonts should be included.
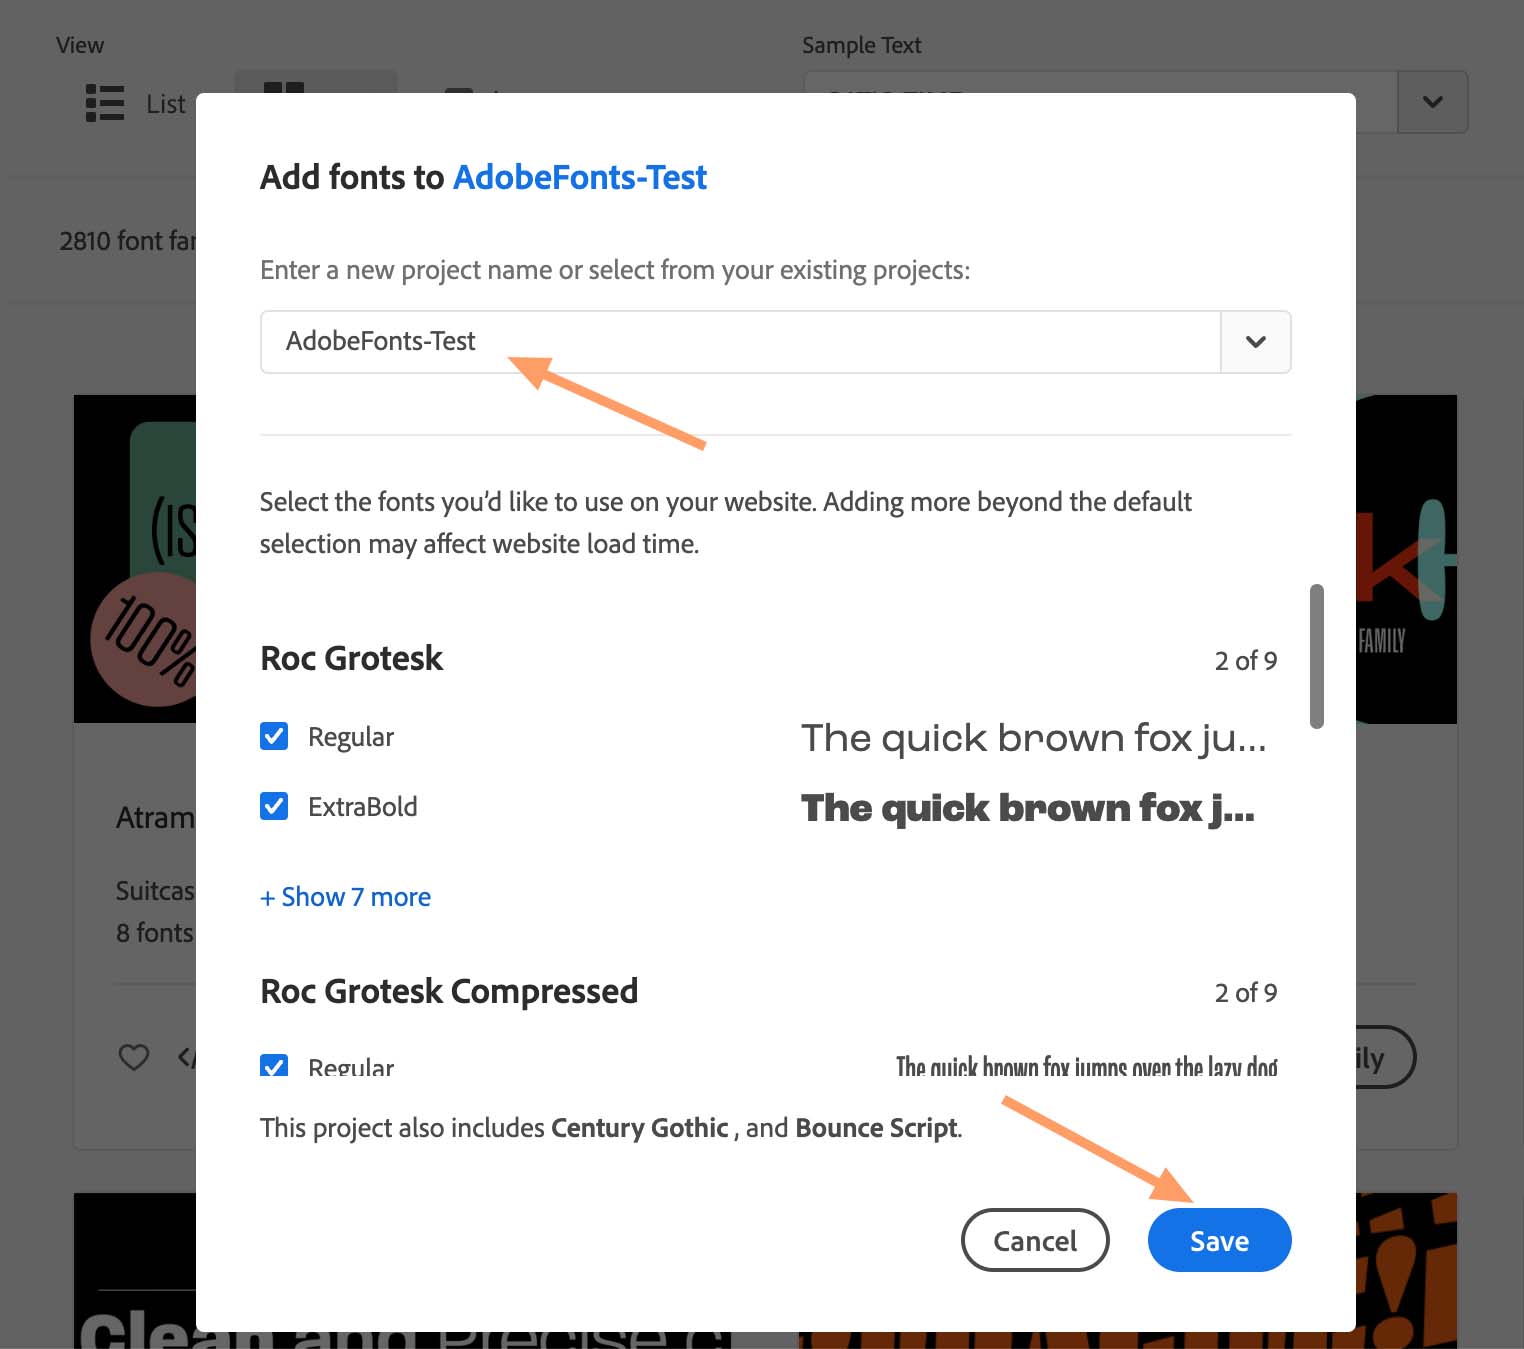 You’ll be able to make changes to the project settings from the My Adobe Fonts page later, too.
 - Then please click the Edit Project button.
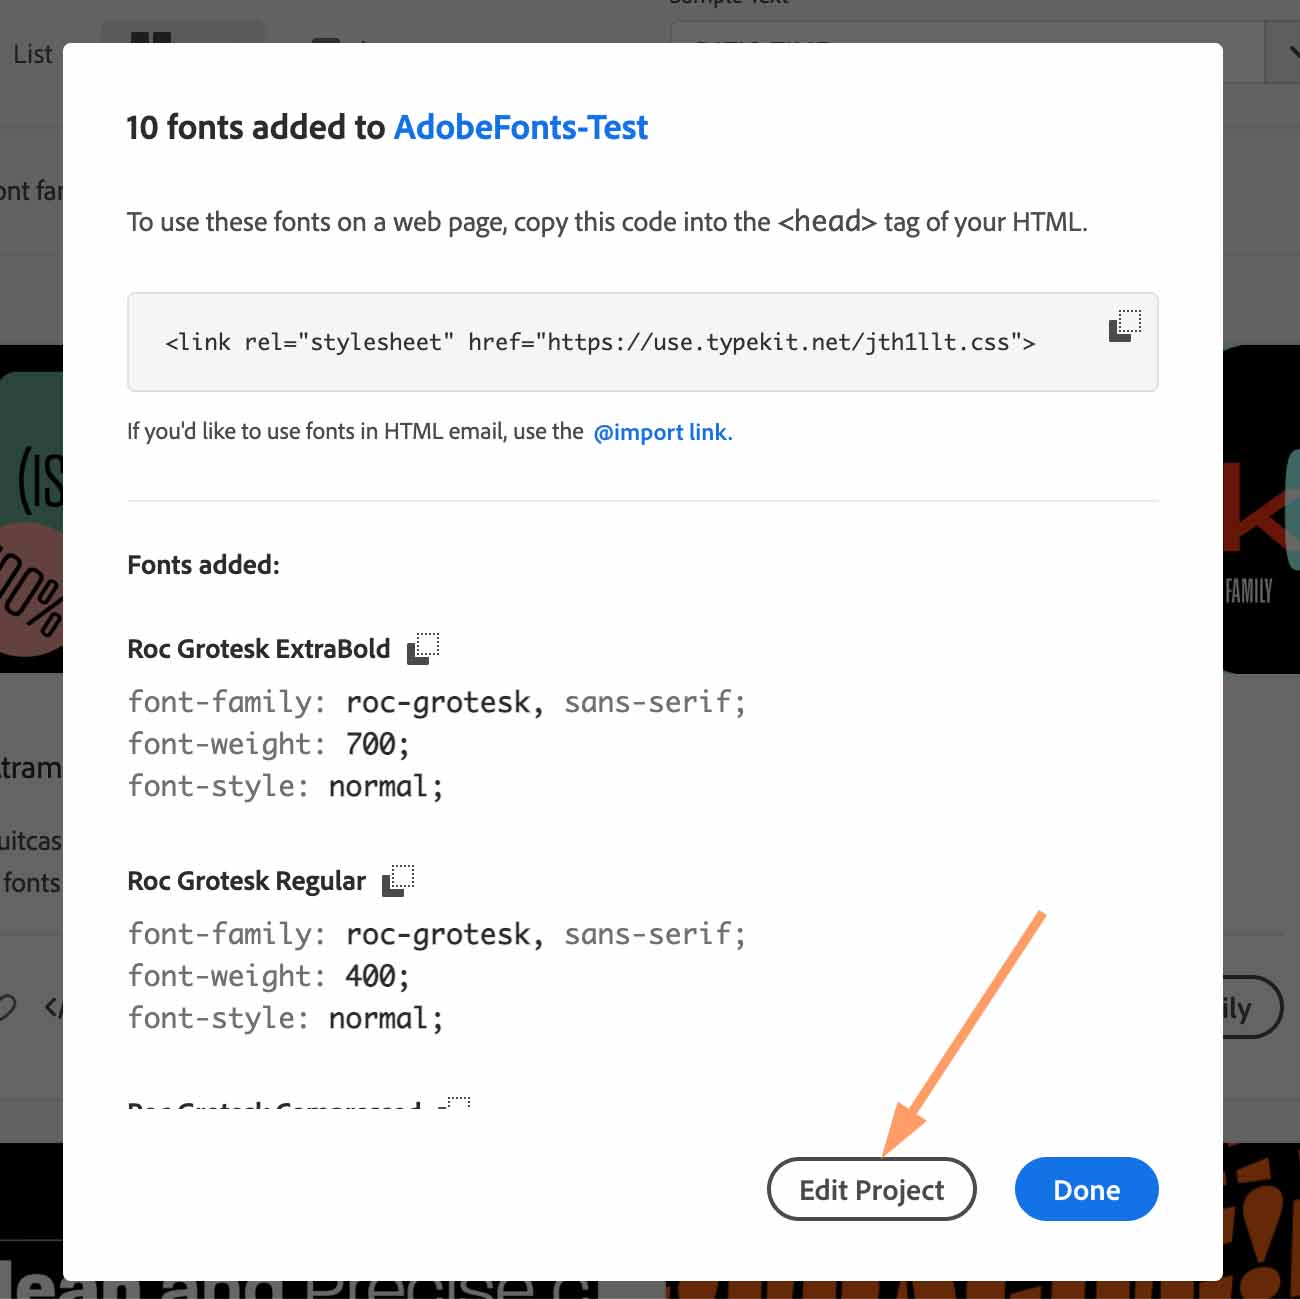 Find the Project ID:
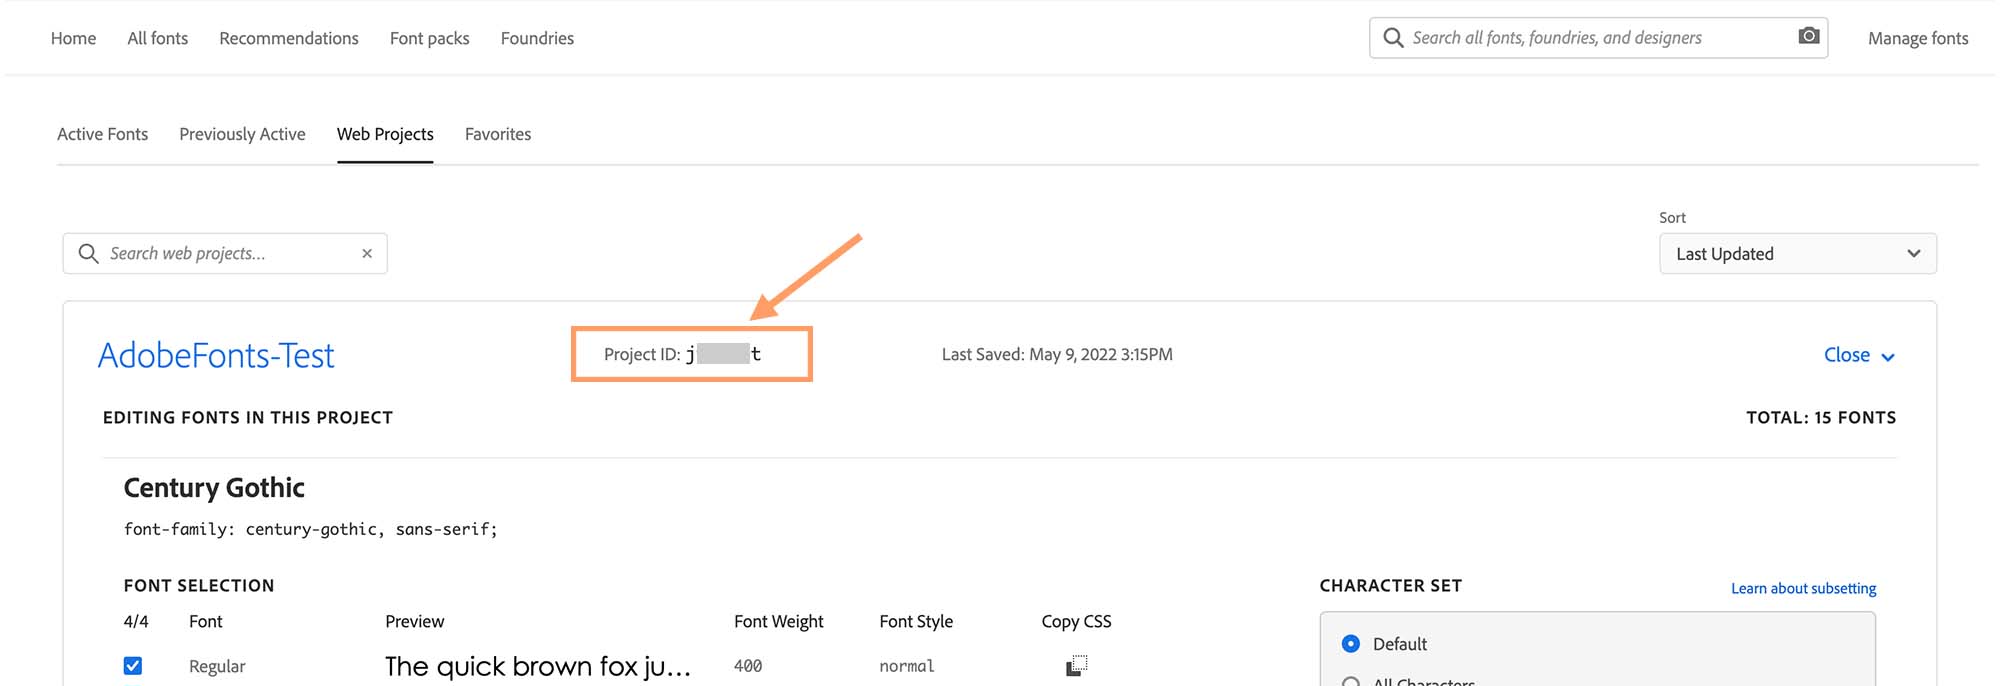
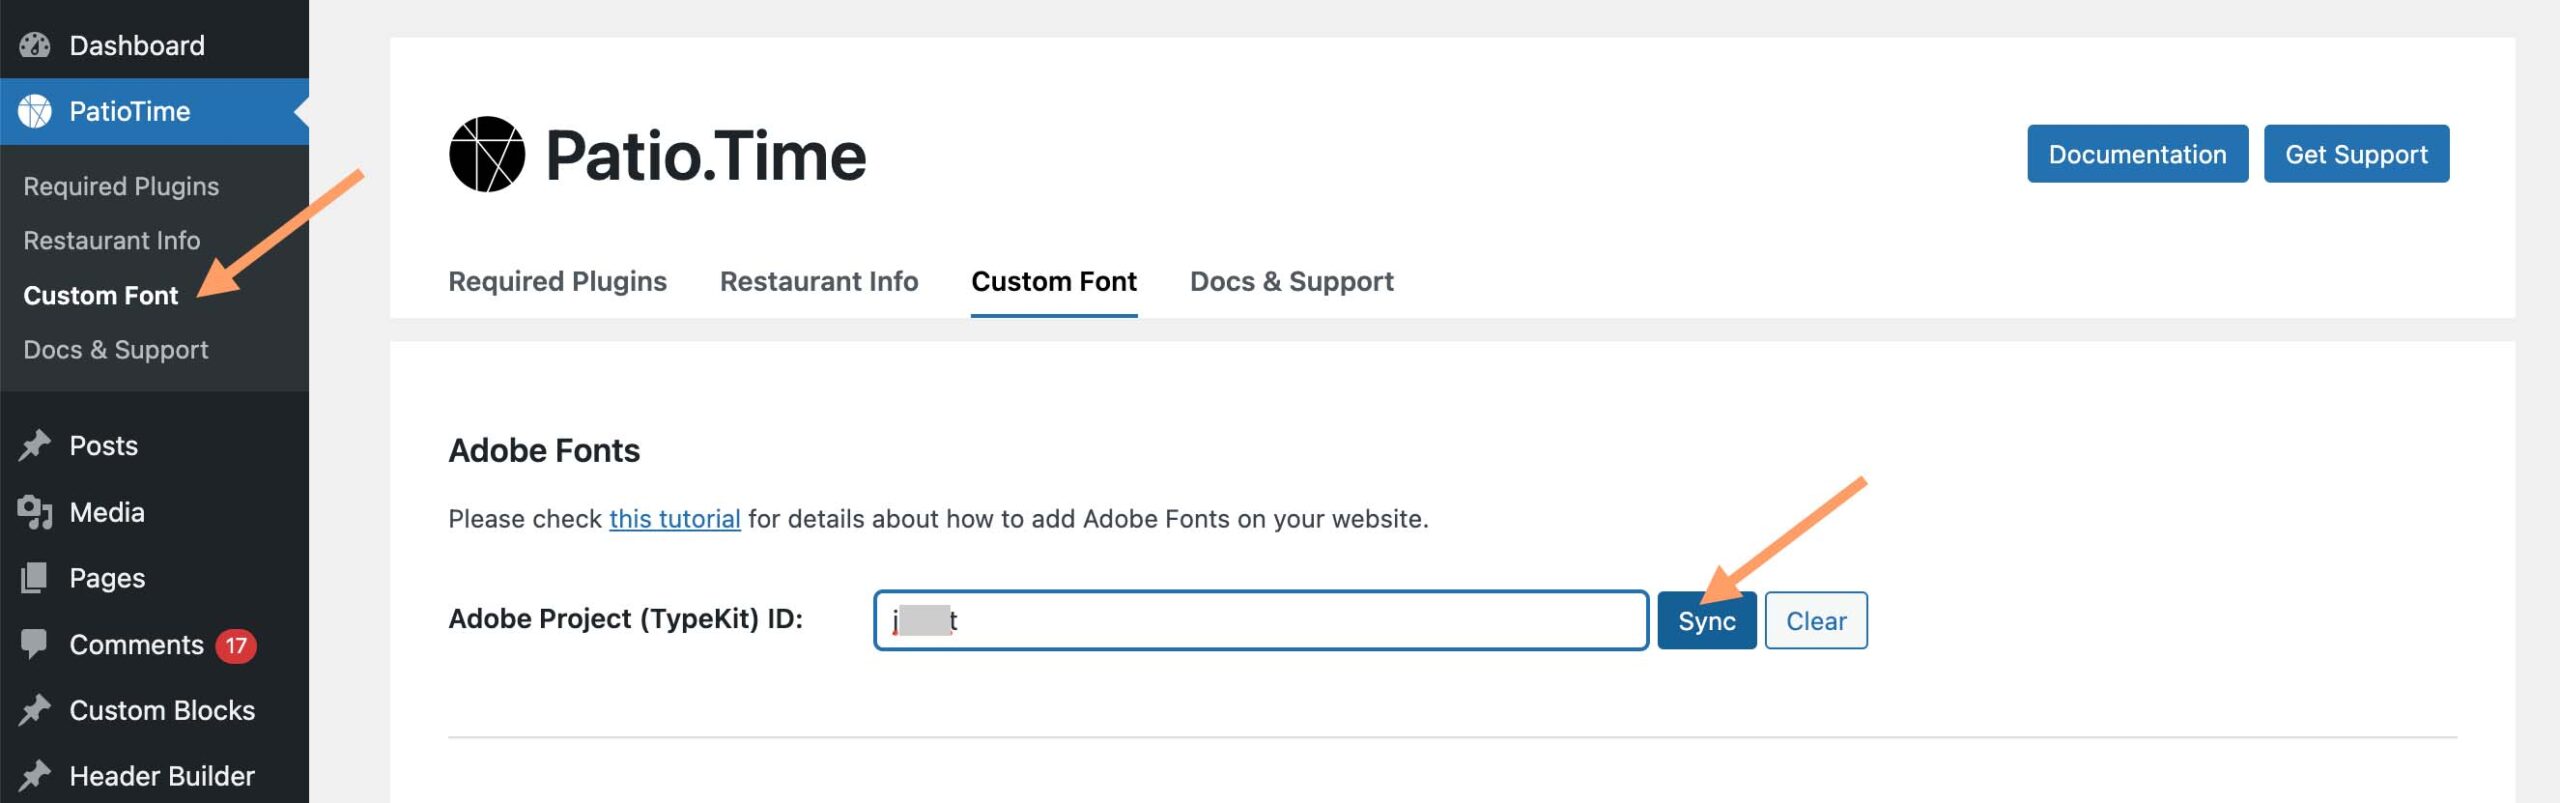
- Please copy the Project ID, and paste it to your website Dashboard > PatioTime Dashboard > Custom Font > Adobe Fonts > Adobe Project (TypeKit) ID, and then click the Sync button.
 Then wait until the Sync result message appears.
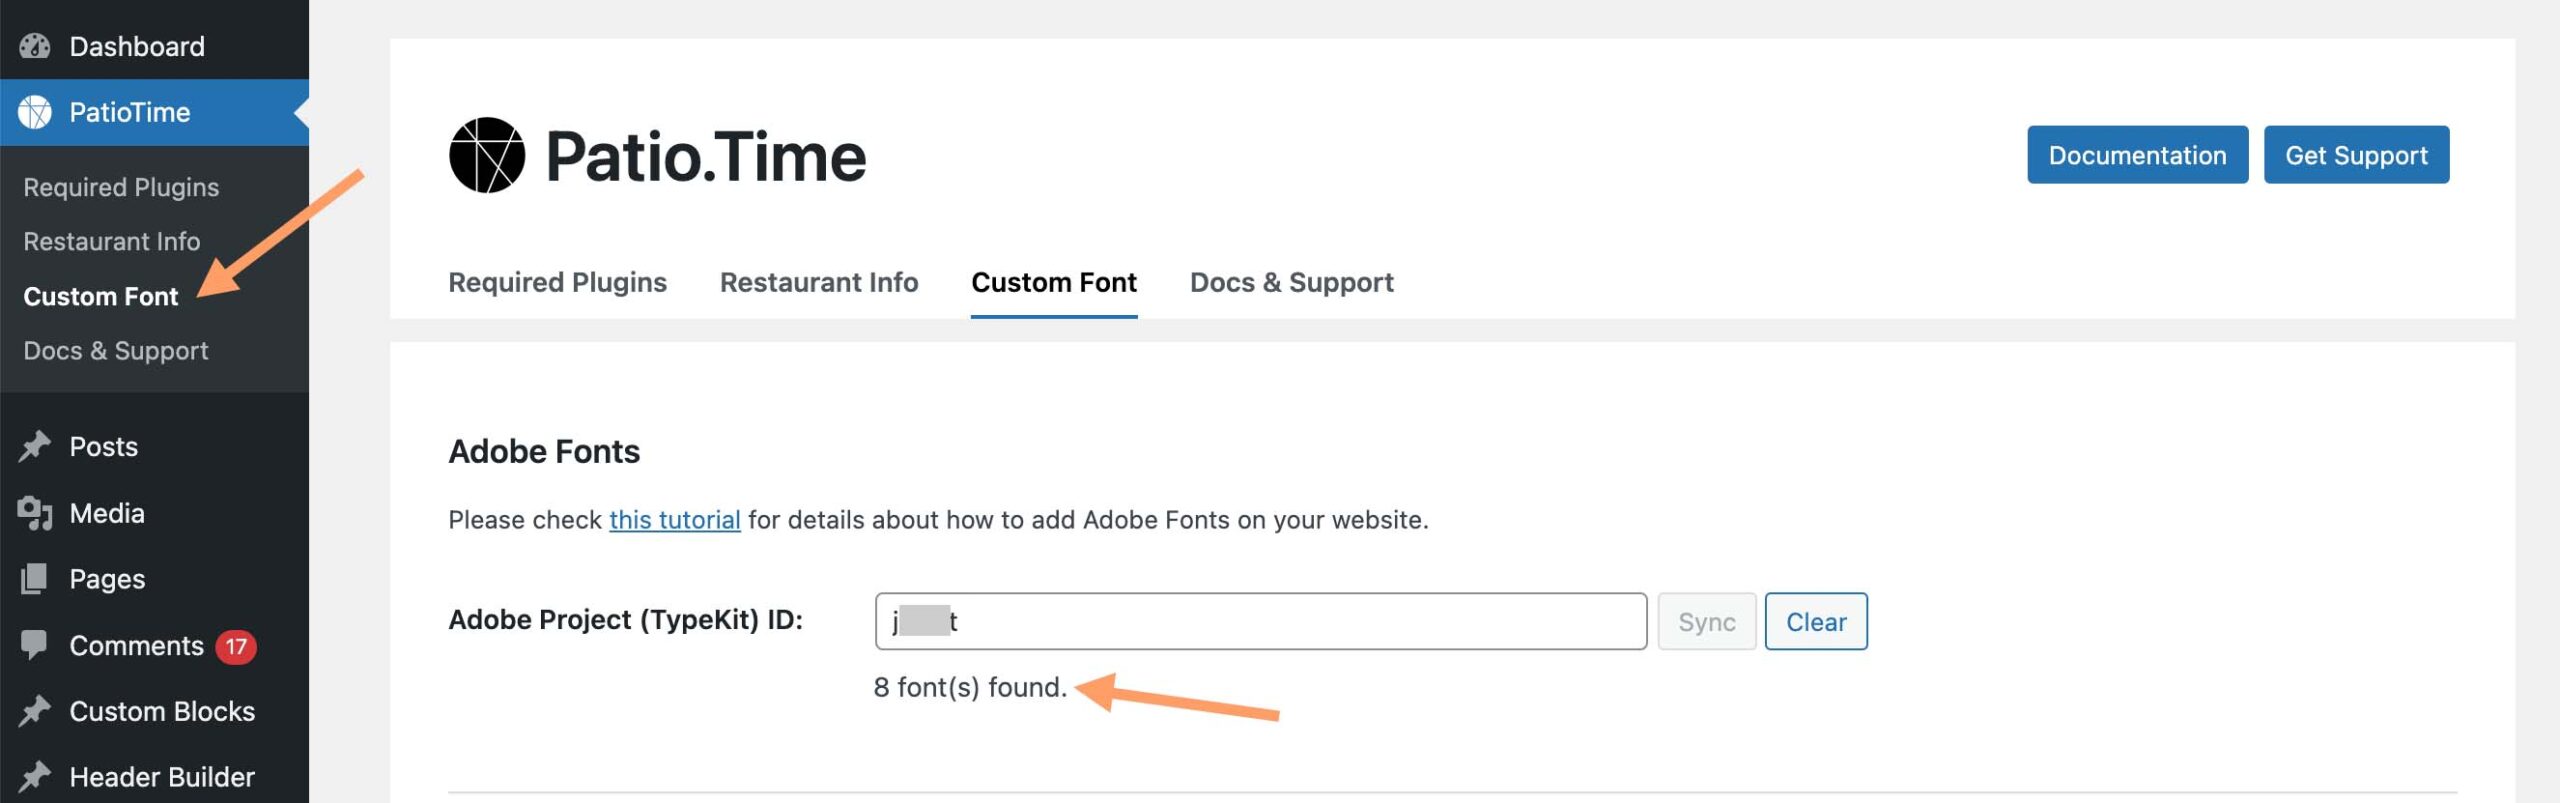
- Then, you will find the Adobe Fonts you added when customizing Typography in the Customizer.
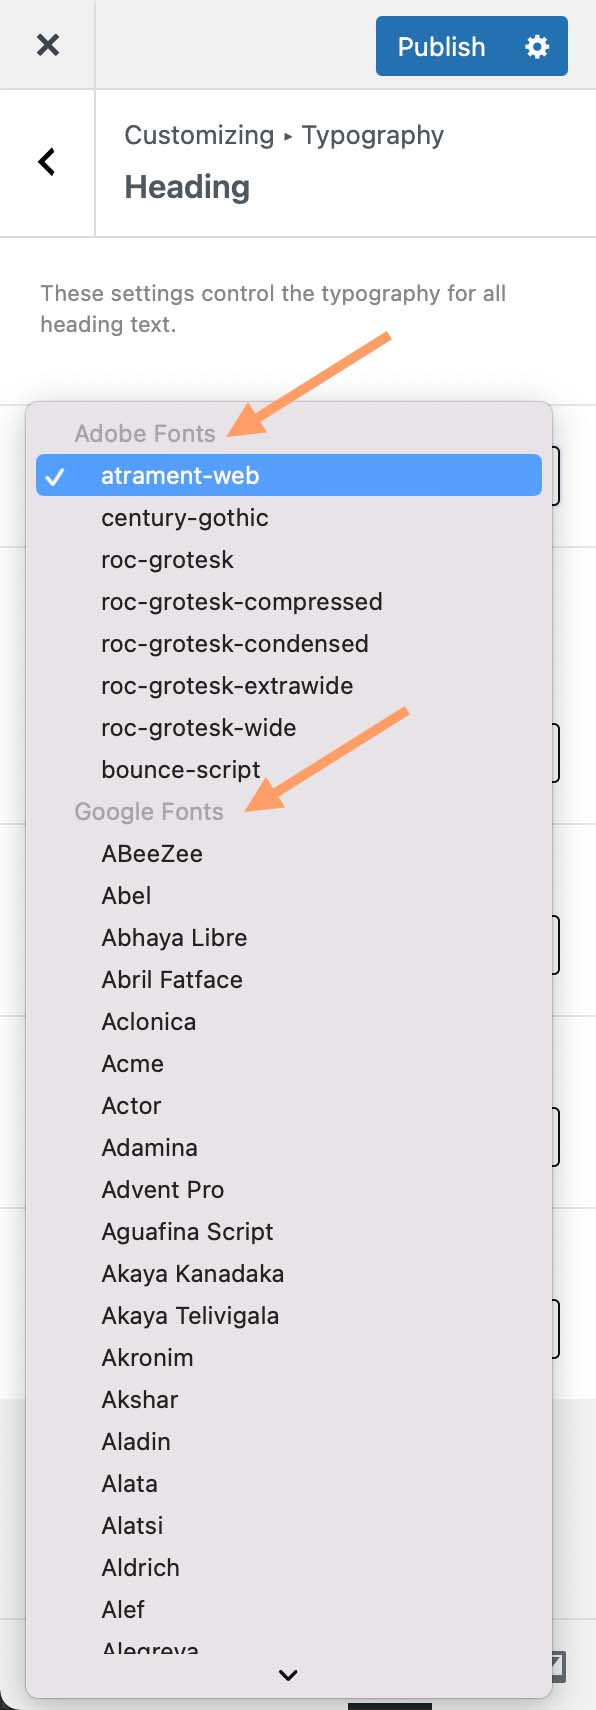 And you will also find them when editing Typography with Elementor.
How to add Adobe Fonts to your website
November 23, 2022