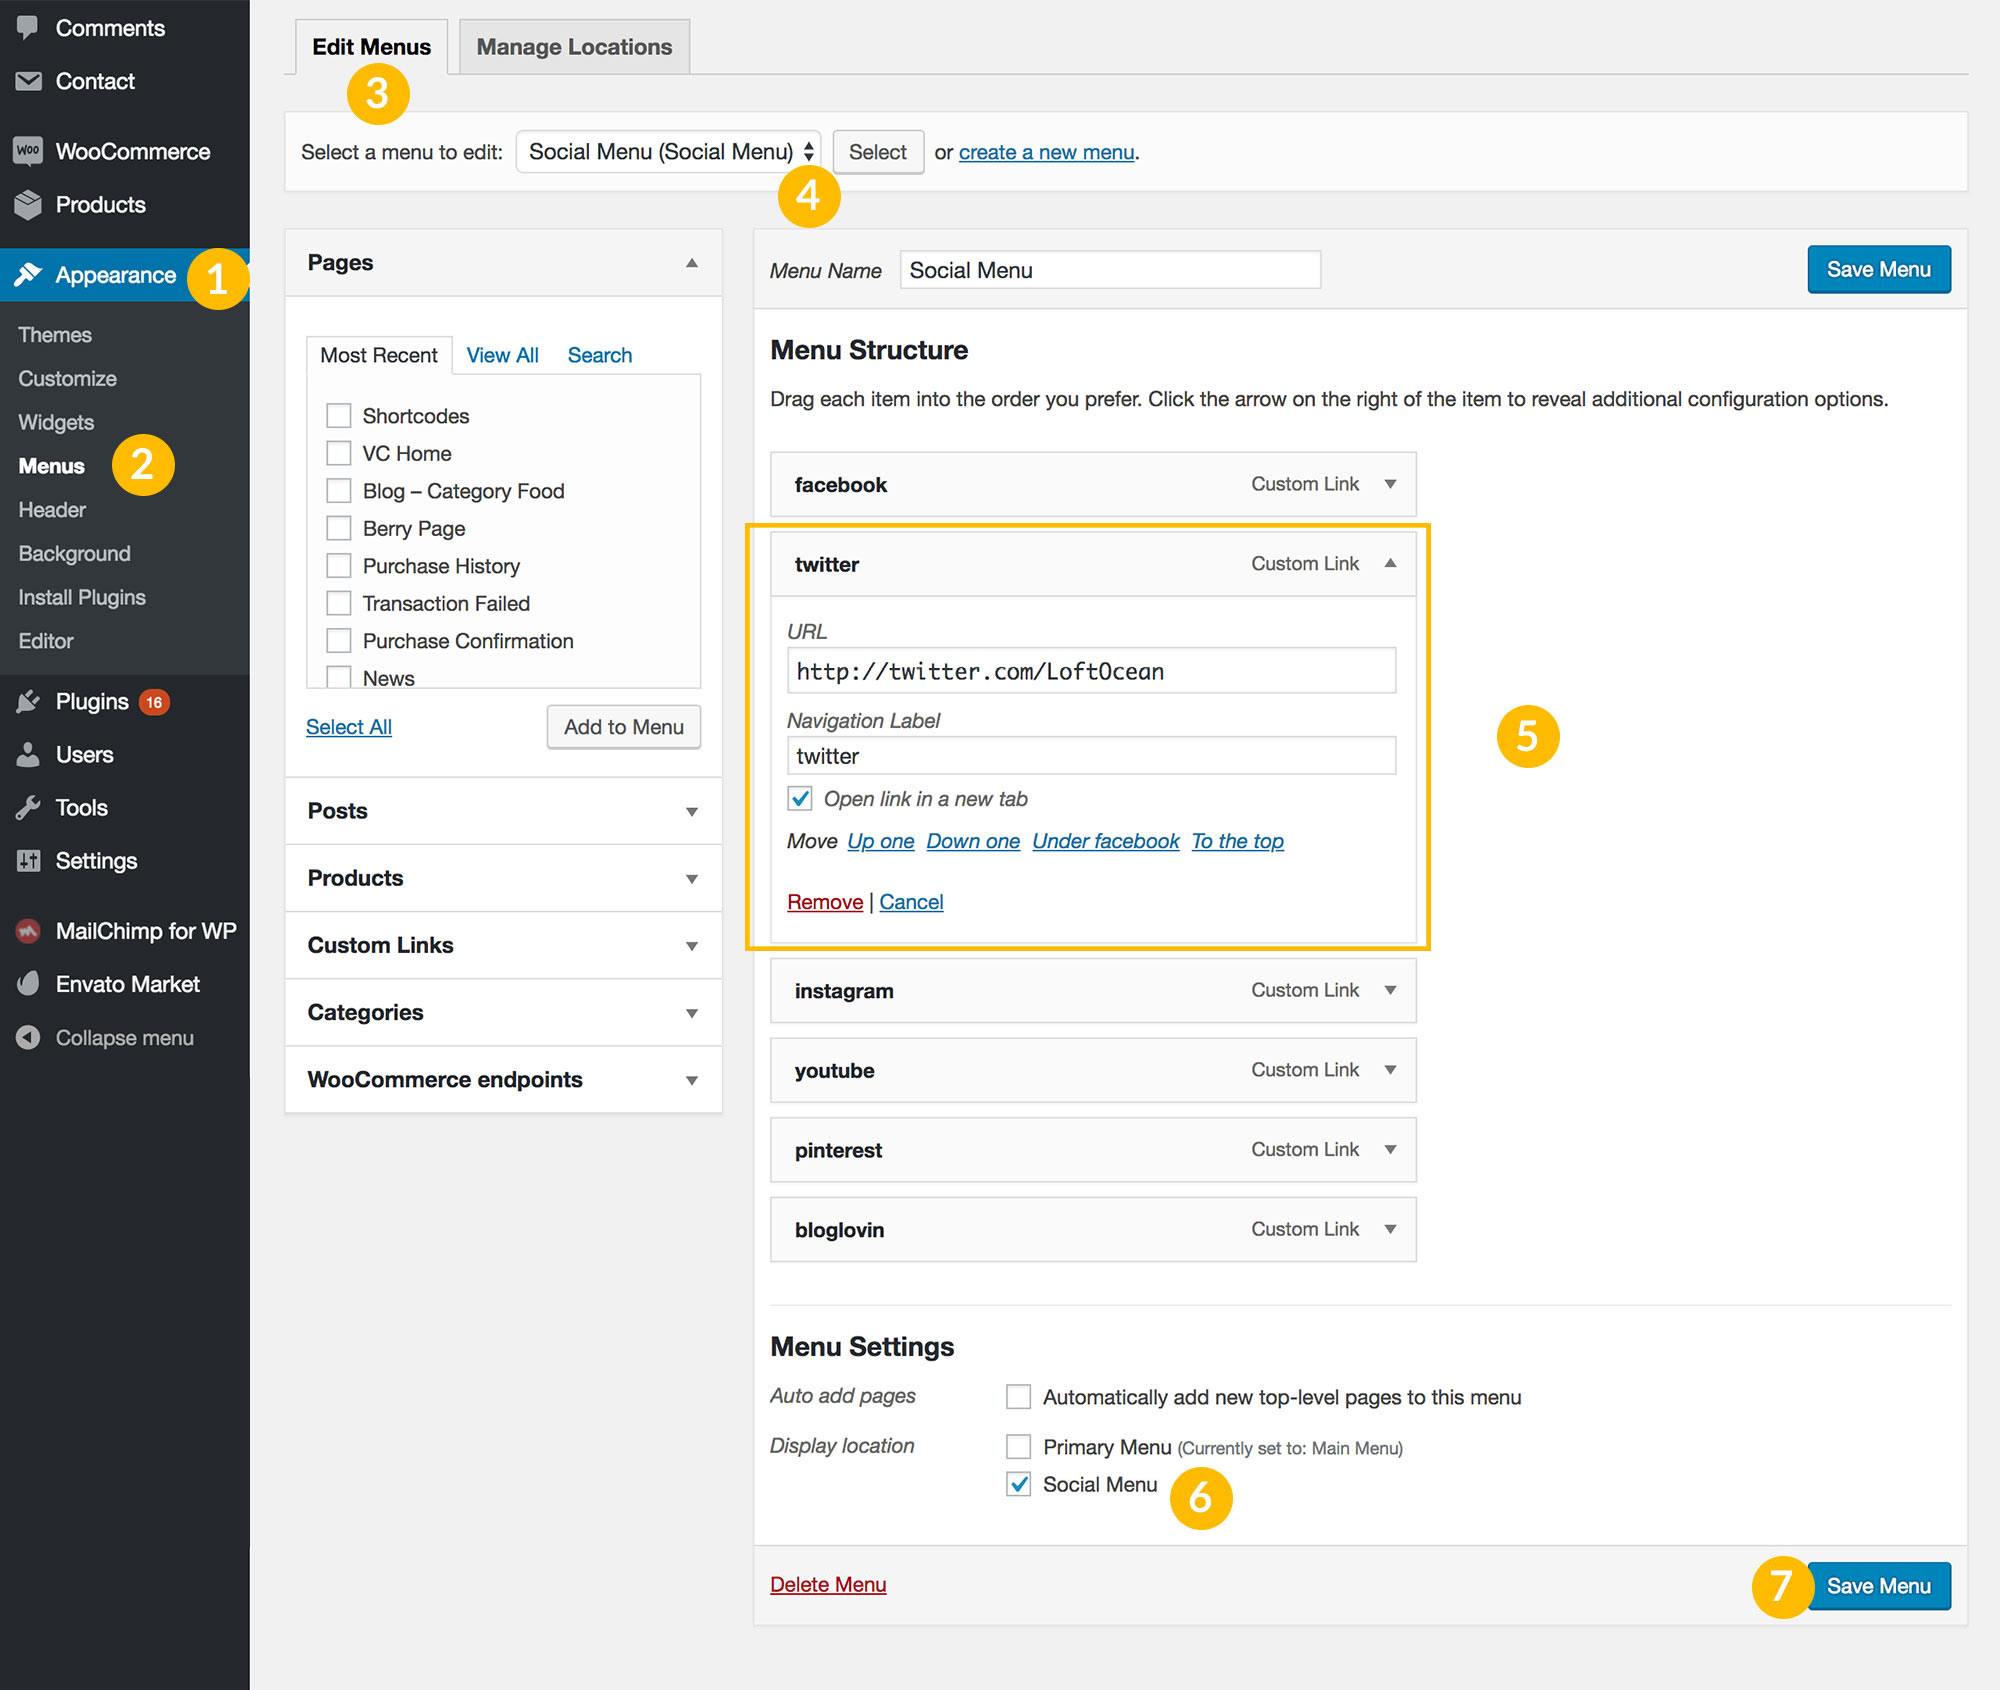
- When create/edit a menu item, tick the box before “Open link in a new tab”.
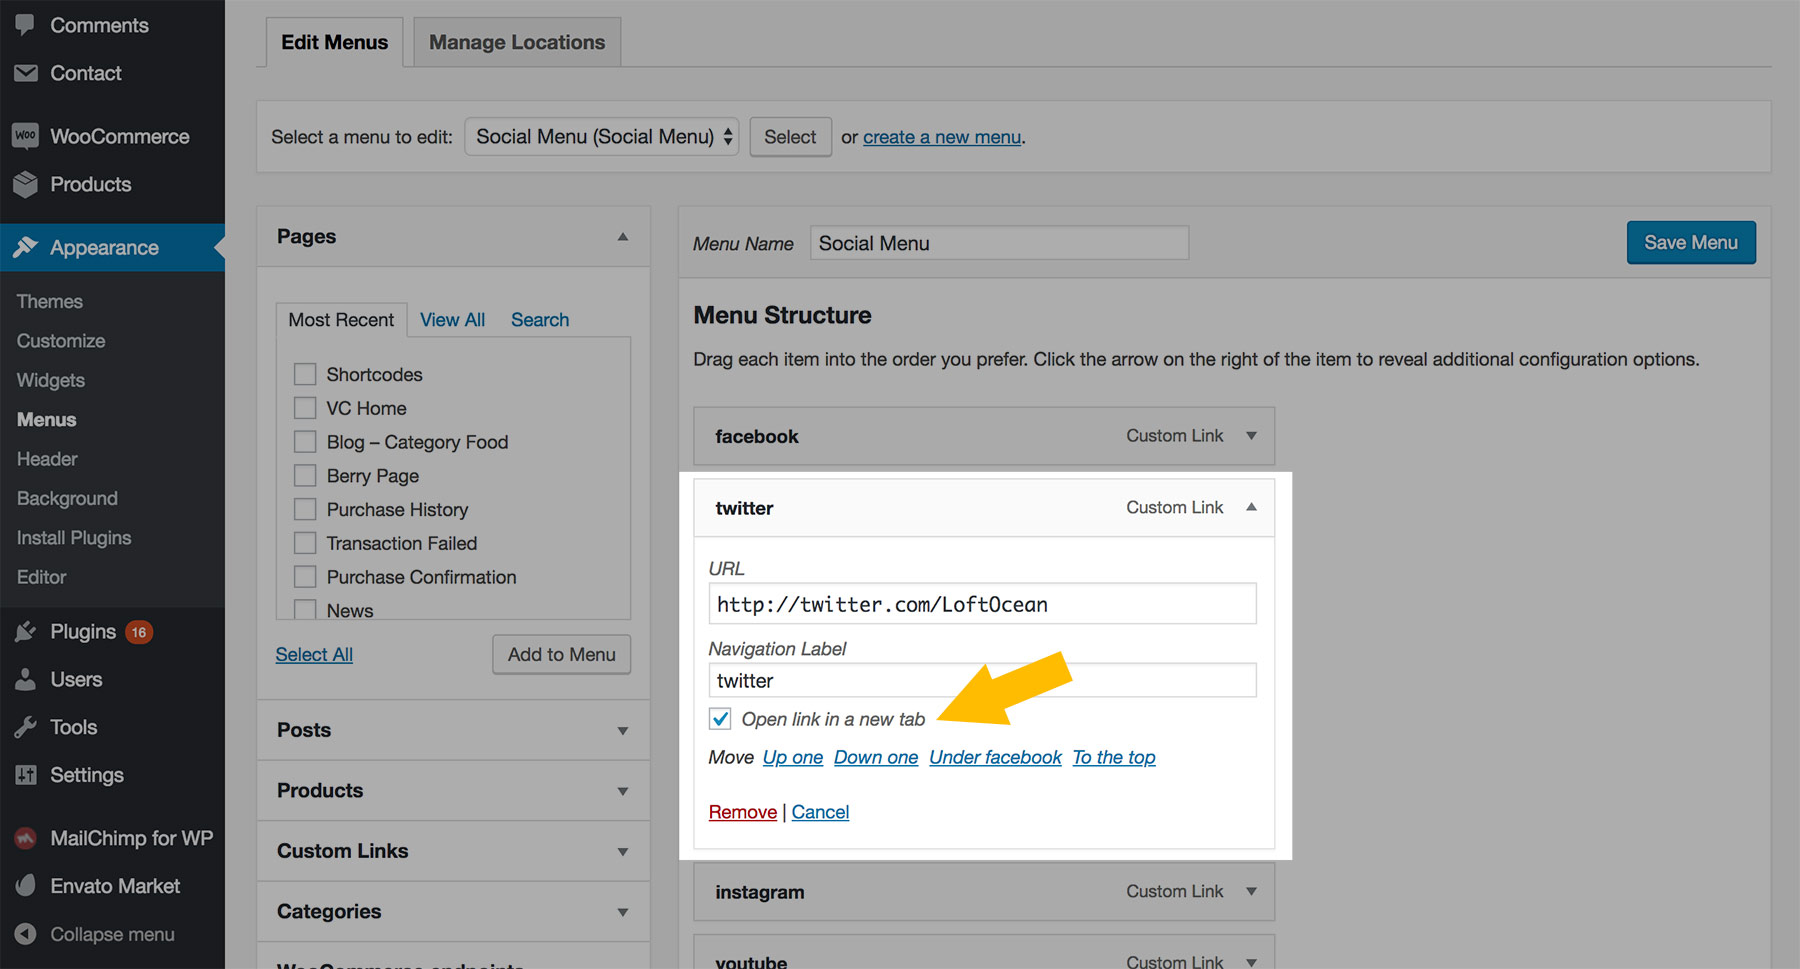
- If you can’t find the option, it is most likely hidden by default. Please scroll up to the top of the screen, and click the Screen Options, then make sure the Link Target box is checked.

- Click on “Save menu” button to save the changes. Done.
Please follow the steps below:
- Make sure your PatioTime theme is updated to the latest version (v1.9 and above). PatioTime themes older than v1.9 do not include the “X” icon. If you are not sure how to update, please follow this tutorial.
- On your WordPress site dashboard, go to Appearance > Menus > Edit Menus.
- Find your social menu, edit the URL. Change “twitter.com” to “x.com”.
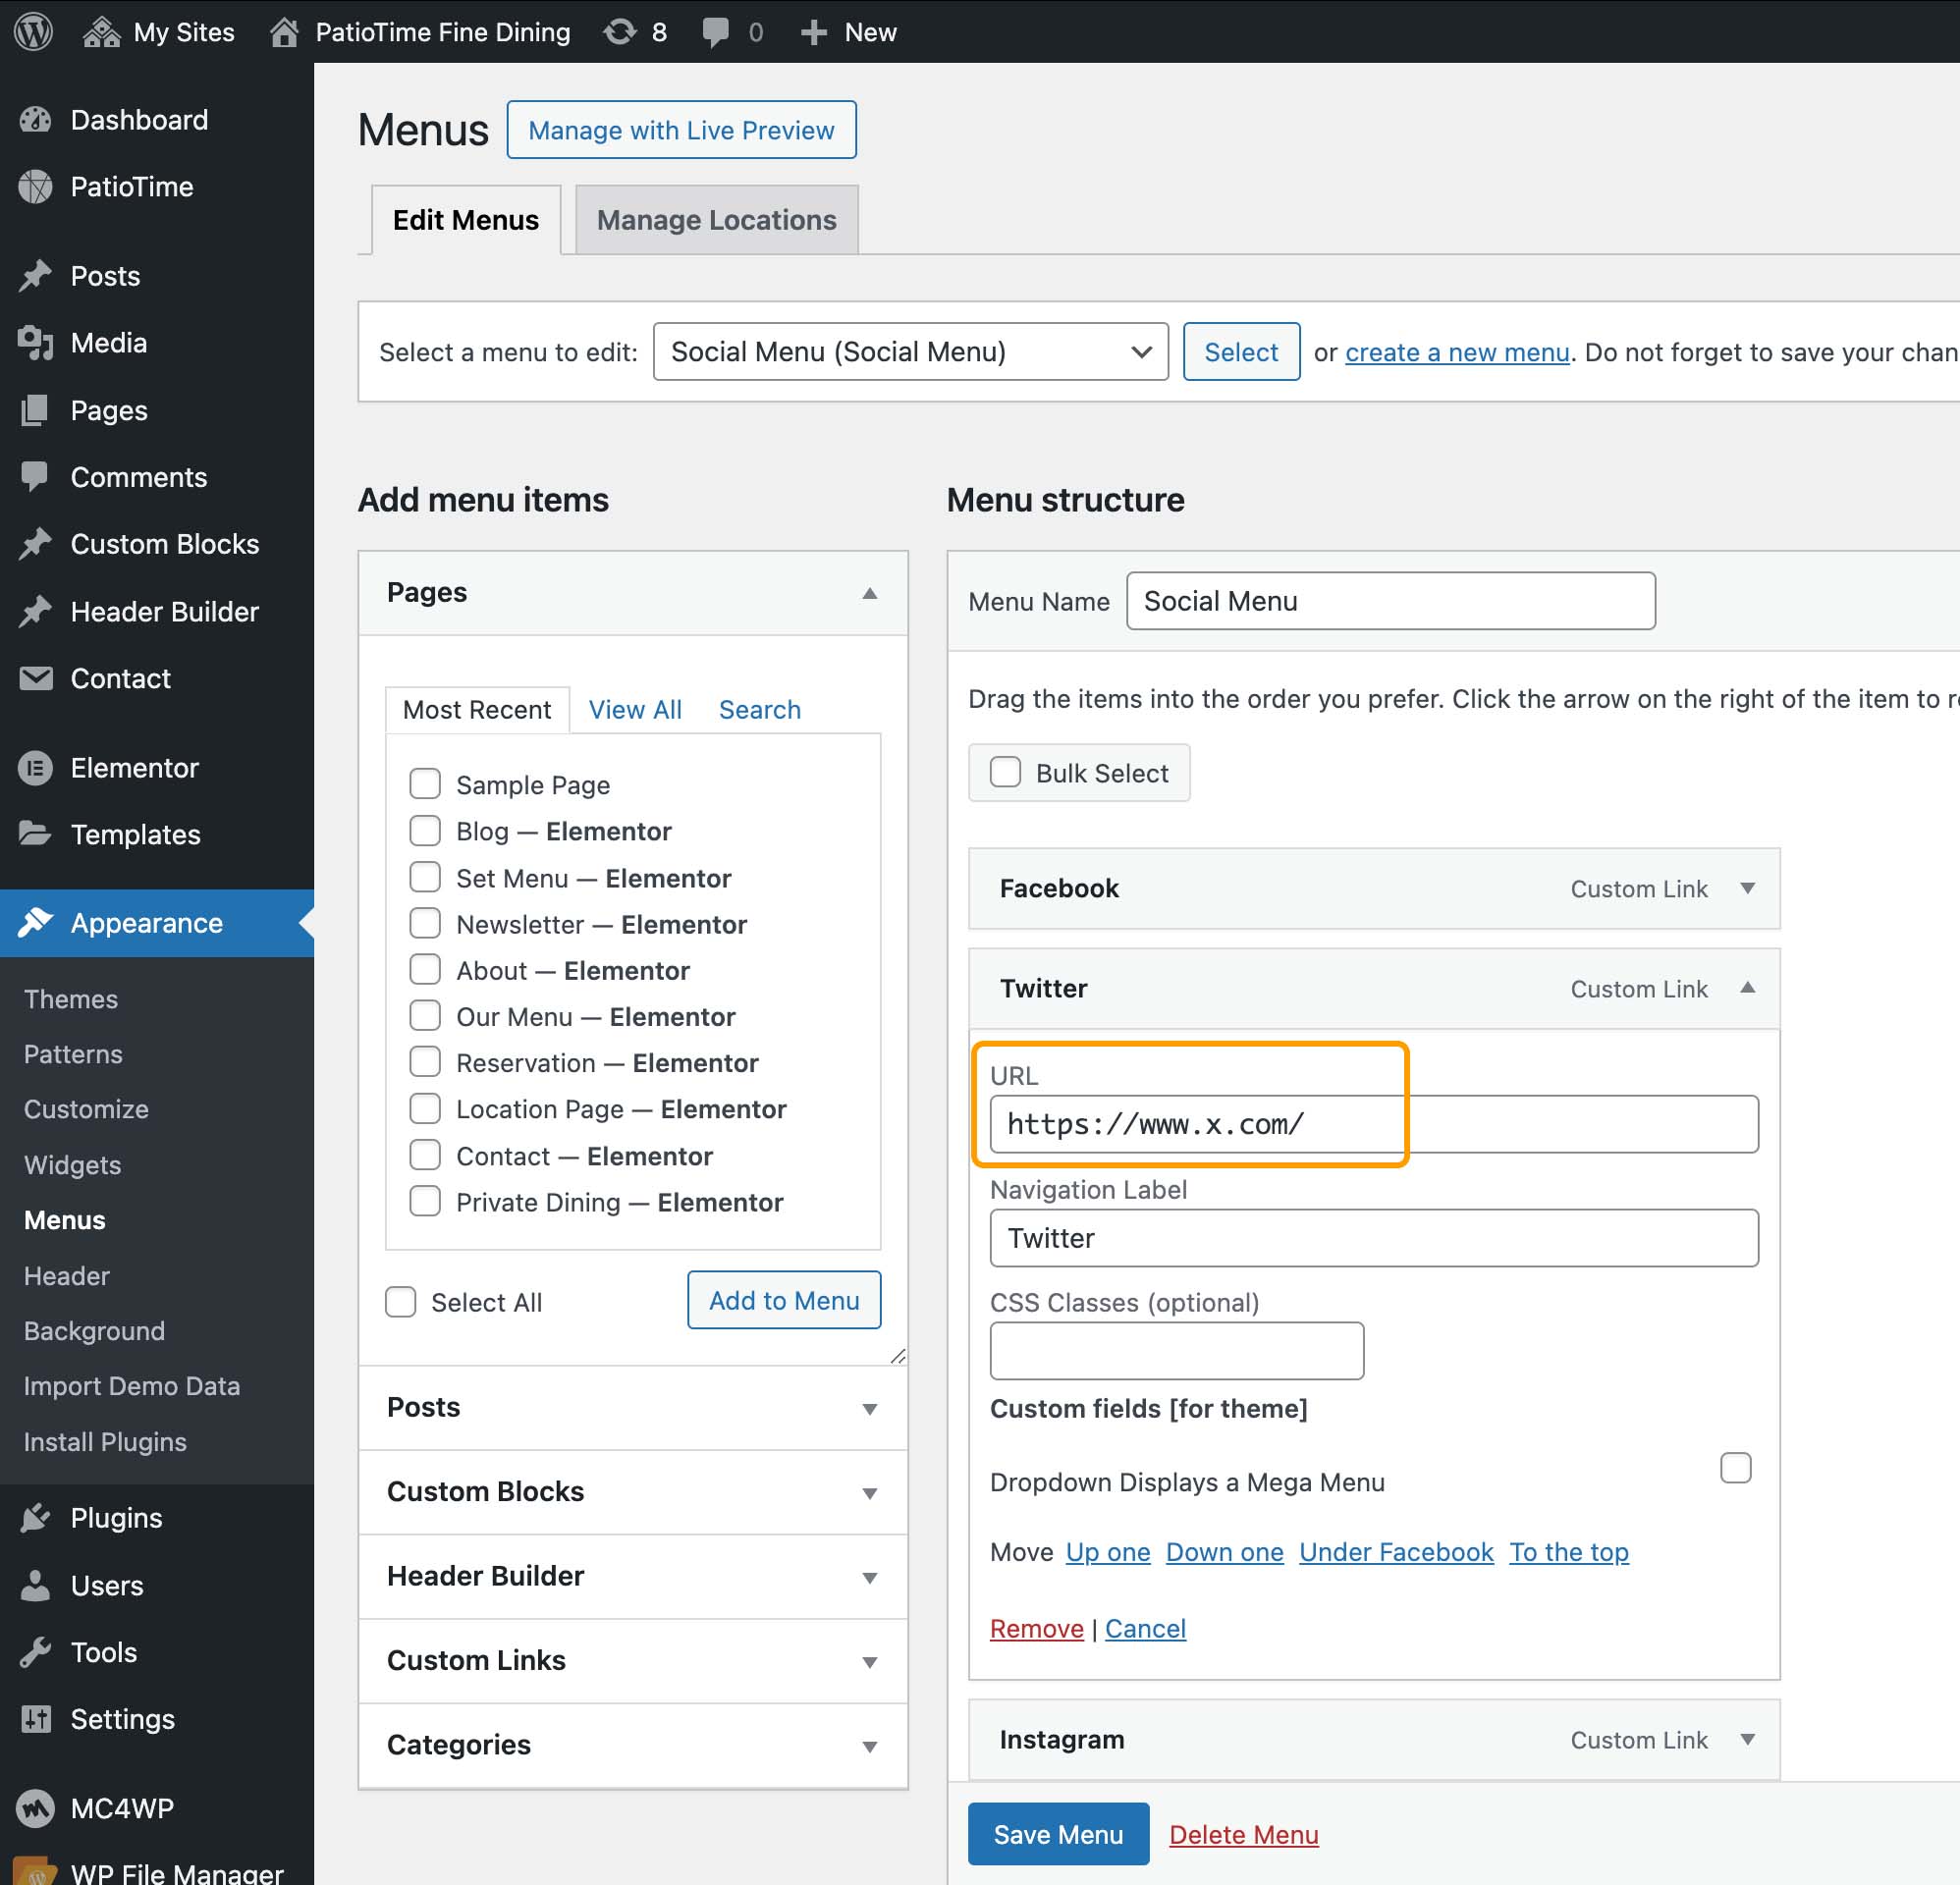
- Save changes. Done.
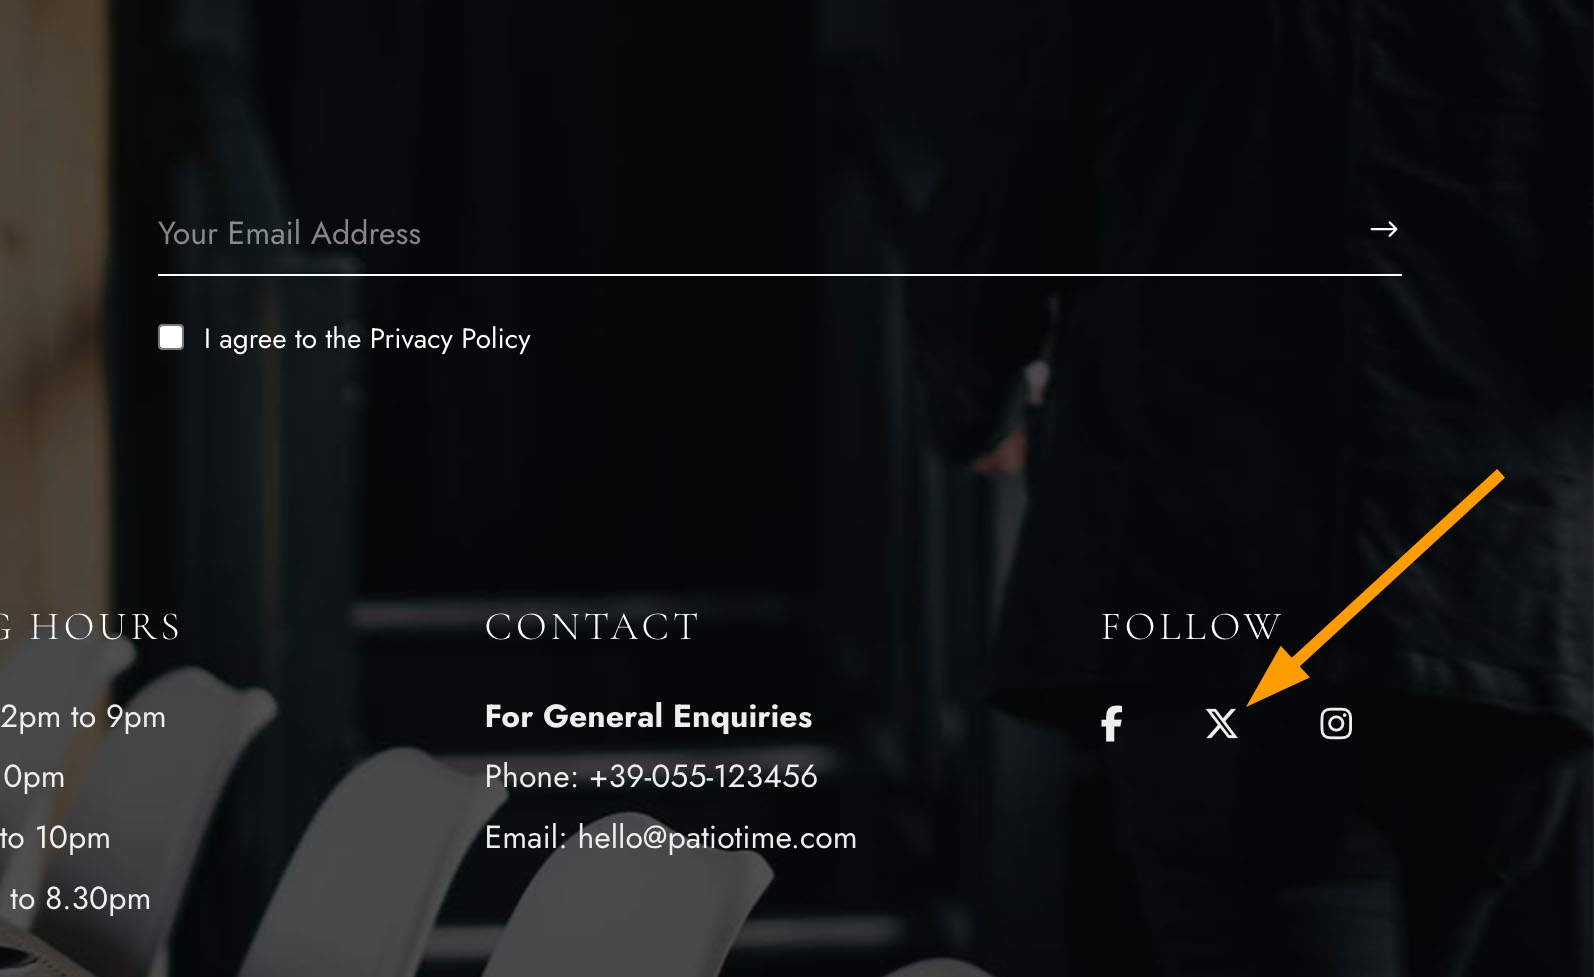
- If the URL of the social menu item contains “twitter.com/”, the icon will still be the old Twitter bird icon. When the URL contains “x.com”, the new “X” icon will be displayed.