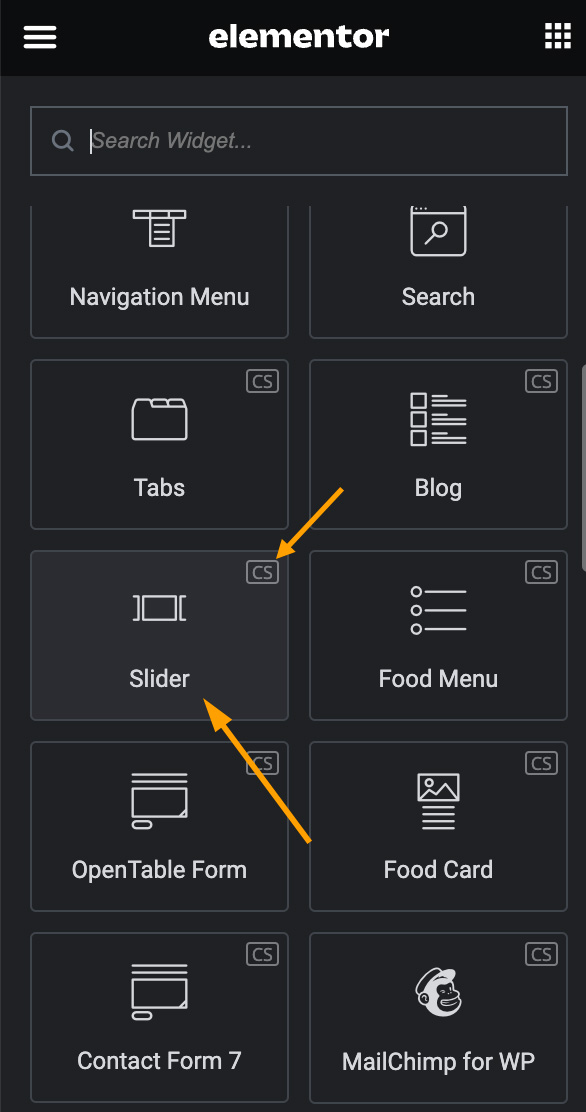
When editing a page with Elementor, you will find the “Slider (CS)” element in the left panel. With this element, you can divide content into slides.
Before adding this “Slider” element to your page, you need to create some slides, each slide is a “Custom Block“. (What is Custom Block?)
Please check the tutorial below for the detailed steps.
Tutorial Video
In this tutorial video, you can see the complete process of adding a slider to your page using “Custom Blocks” and the “Slider” element. There is a text version of the complete step-by-step description below the video.
Text Version of the Tutorial
- On your website dashboard, please navigate to “Custom Blocks”, create a new custom block, you can name it “Slide 1”. And edit it with Elementor.
- You can speed up your work by adding pre-made templates from the CozyStay Template Library (What is CozyStay Template Library?). Please open the CozyStay Template Library, select “Slides” from the dropdown filter. There are 3 pre-made slides. You can choose one and click to insert it to the page.
- After adding a pre-made template, you can edit the content, background images, add new elements, etc. according to your needs.
- Please save your changes, then return to the WordPress site dashboard > Custom Blocks page and repeat the above operations to create new Custom Blocks, for example, Slide 2, Slide 3, etc. Create as many custom blocks as you need in your Slider.
- We assume that your slider will have three slides, so we create three custom blocks: Slide 1, Slide 2, and Slide 3. We have edited the content in each slide, and now we can add this slider to the page.
- On your website dashboard, please navigate to “Pages”, edit the page with Elementor. Please add a new section, and find “Slider (CS)” in the Elementor’s left panel, add it to the new section we just created.
- Edit the Slider. The Slider element contains two Slider Items by default. Click the Slider Item to expand, select “Custom Block” as the “Content Type“, and then select a custom block, for example, “Slide 1”.
- Expand the second Slider Item and select “Custom Block” as the “Content Type“, and then select “Slide 2”.
- You can add a new slider item, and select “Slide 3”.
- In order to better display the slider, we recommend setting the “Content Width” of the Section containing the slider to “Full Width” and the “Column Gap” to “No Gap“.
- Select the slider and navigate to the “Style” tab, you’ll find more options for styling your slider.